Projekte

Projects

Reparatur Proxxon Multitool

Repair Proxxon multitool

10.2020

Überblick

Overview
Geplantes Budget
planed budget
0
Fortschritt
progress

Design

Prepare

Build

Test

Done!

Maschienen und Werkzeuge
Machines and tools

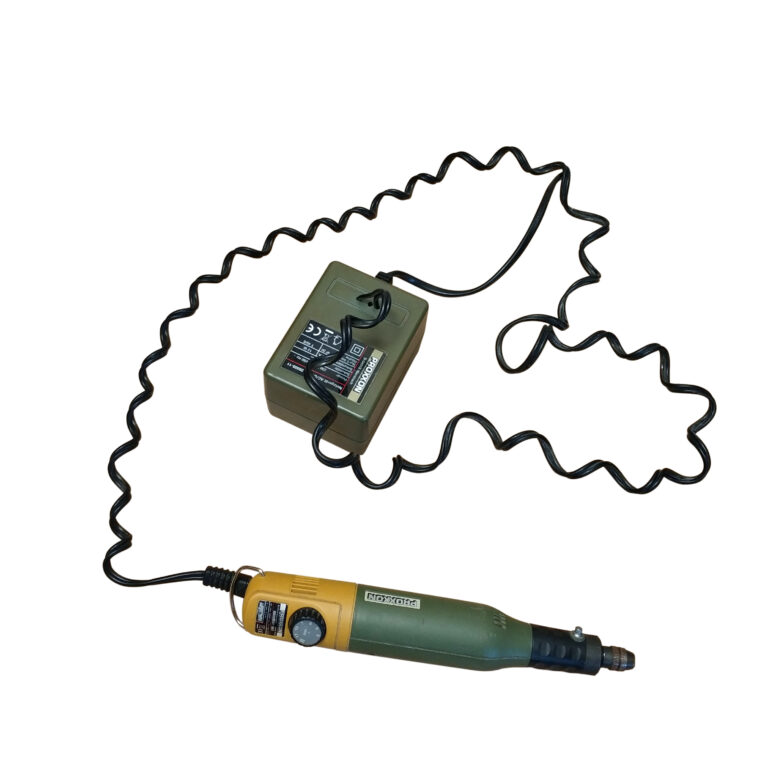
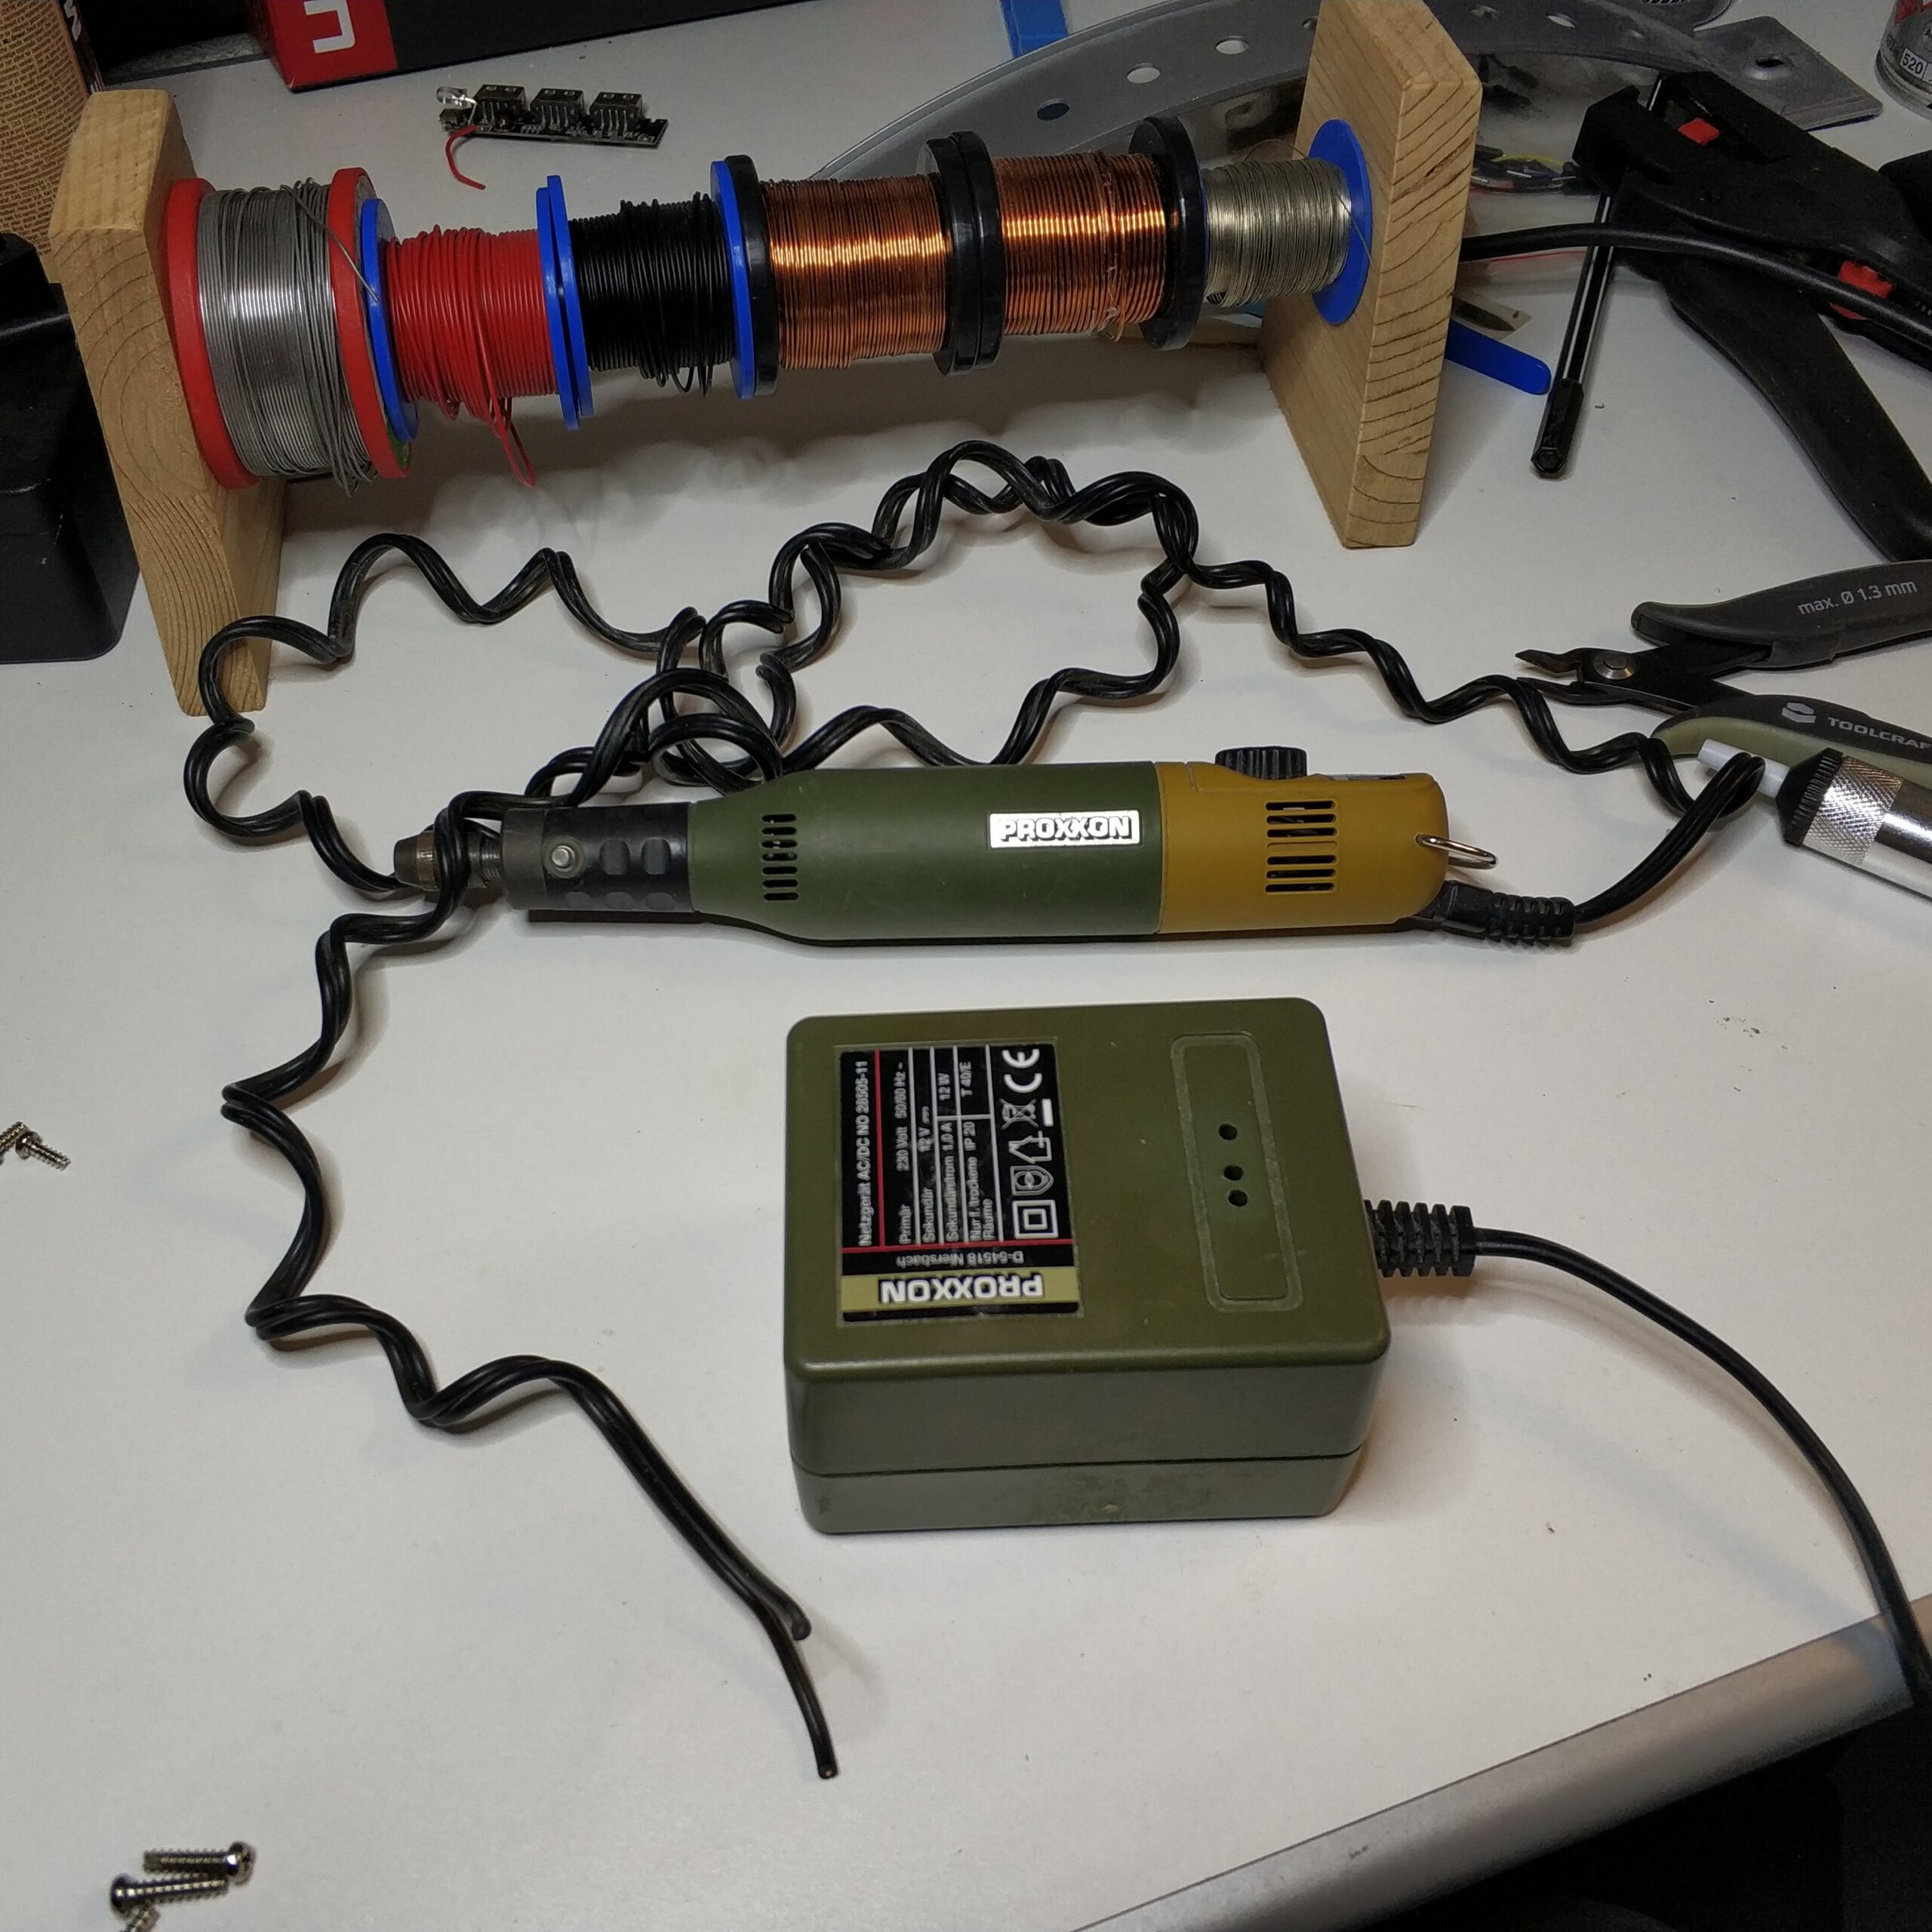
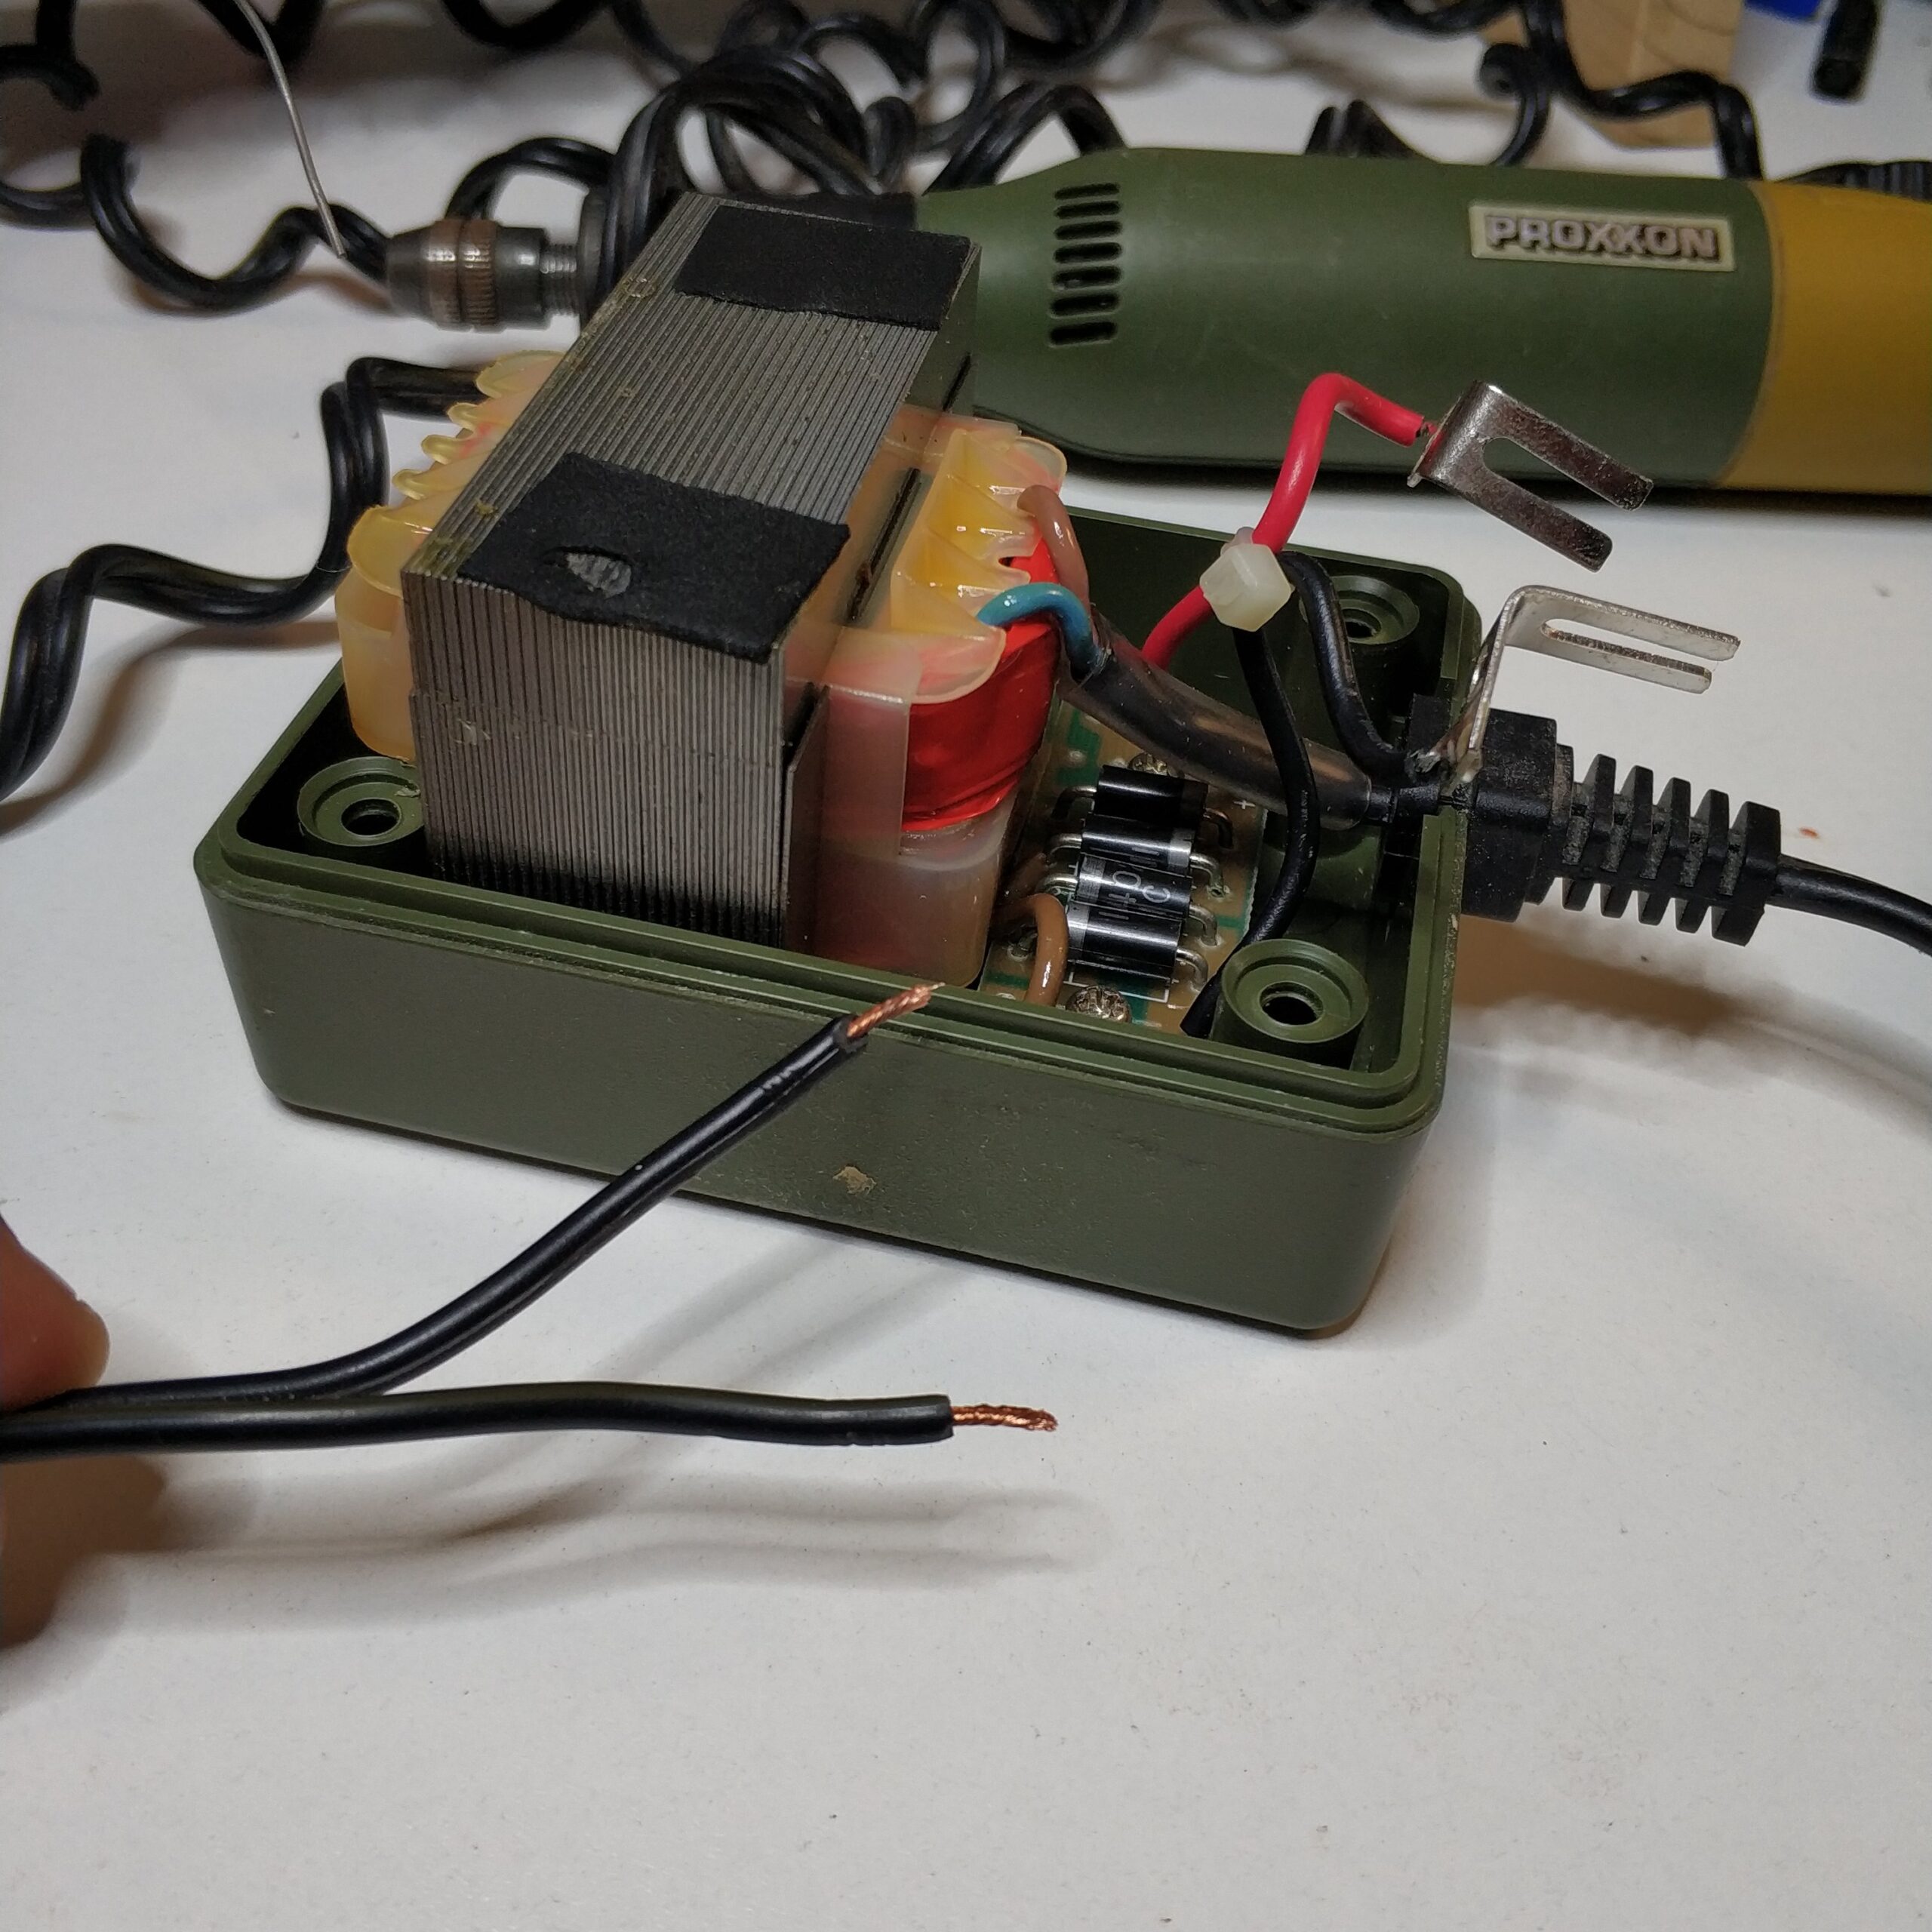
Mir wurde ein kaputtes Proxxon Multitool überlassenes, dass nur darauf wartet mit wenigen aufwand repariert zu werden.

Jemand hat beim Netzteil den Stecker zum Multitool abgebrochen. Also kein großes Problem. Bei der Reparatur bin ich wie folgt vorgegangen.

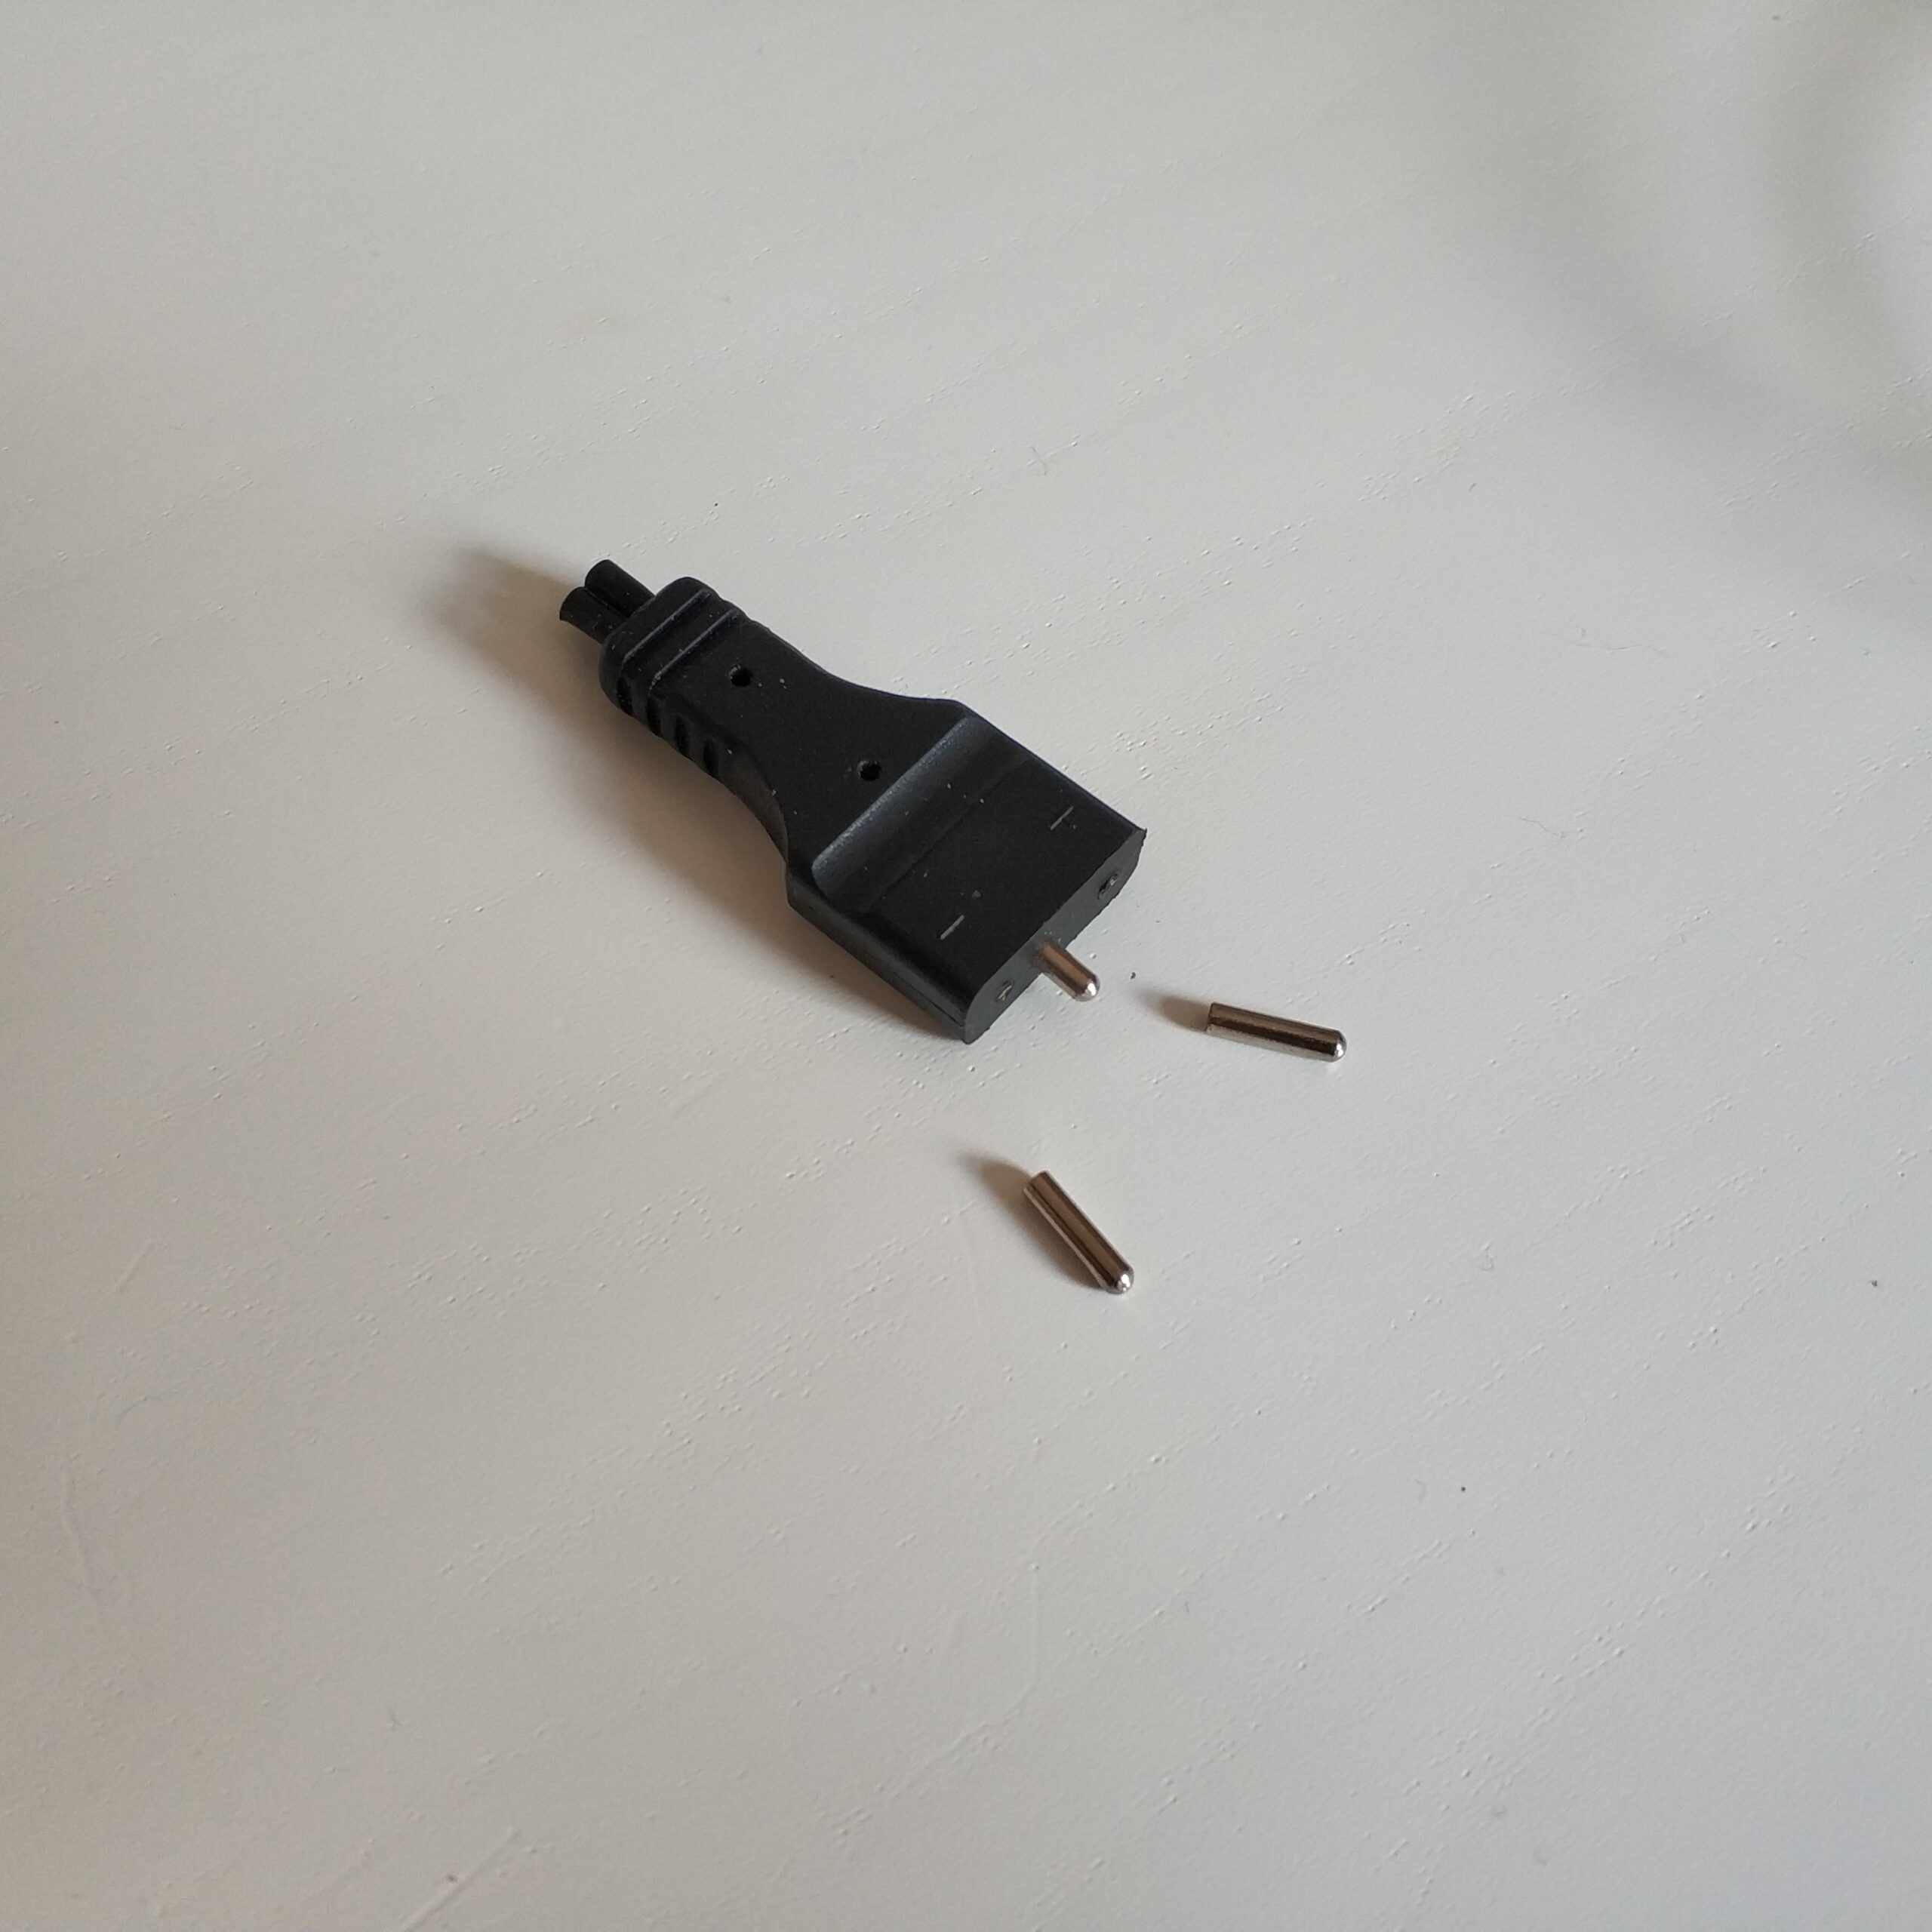
– Stecker abgeschnitten.

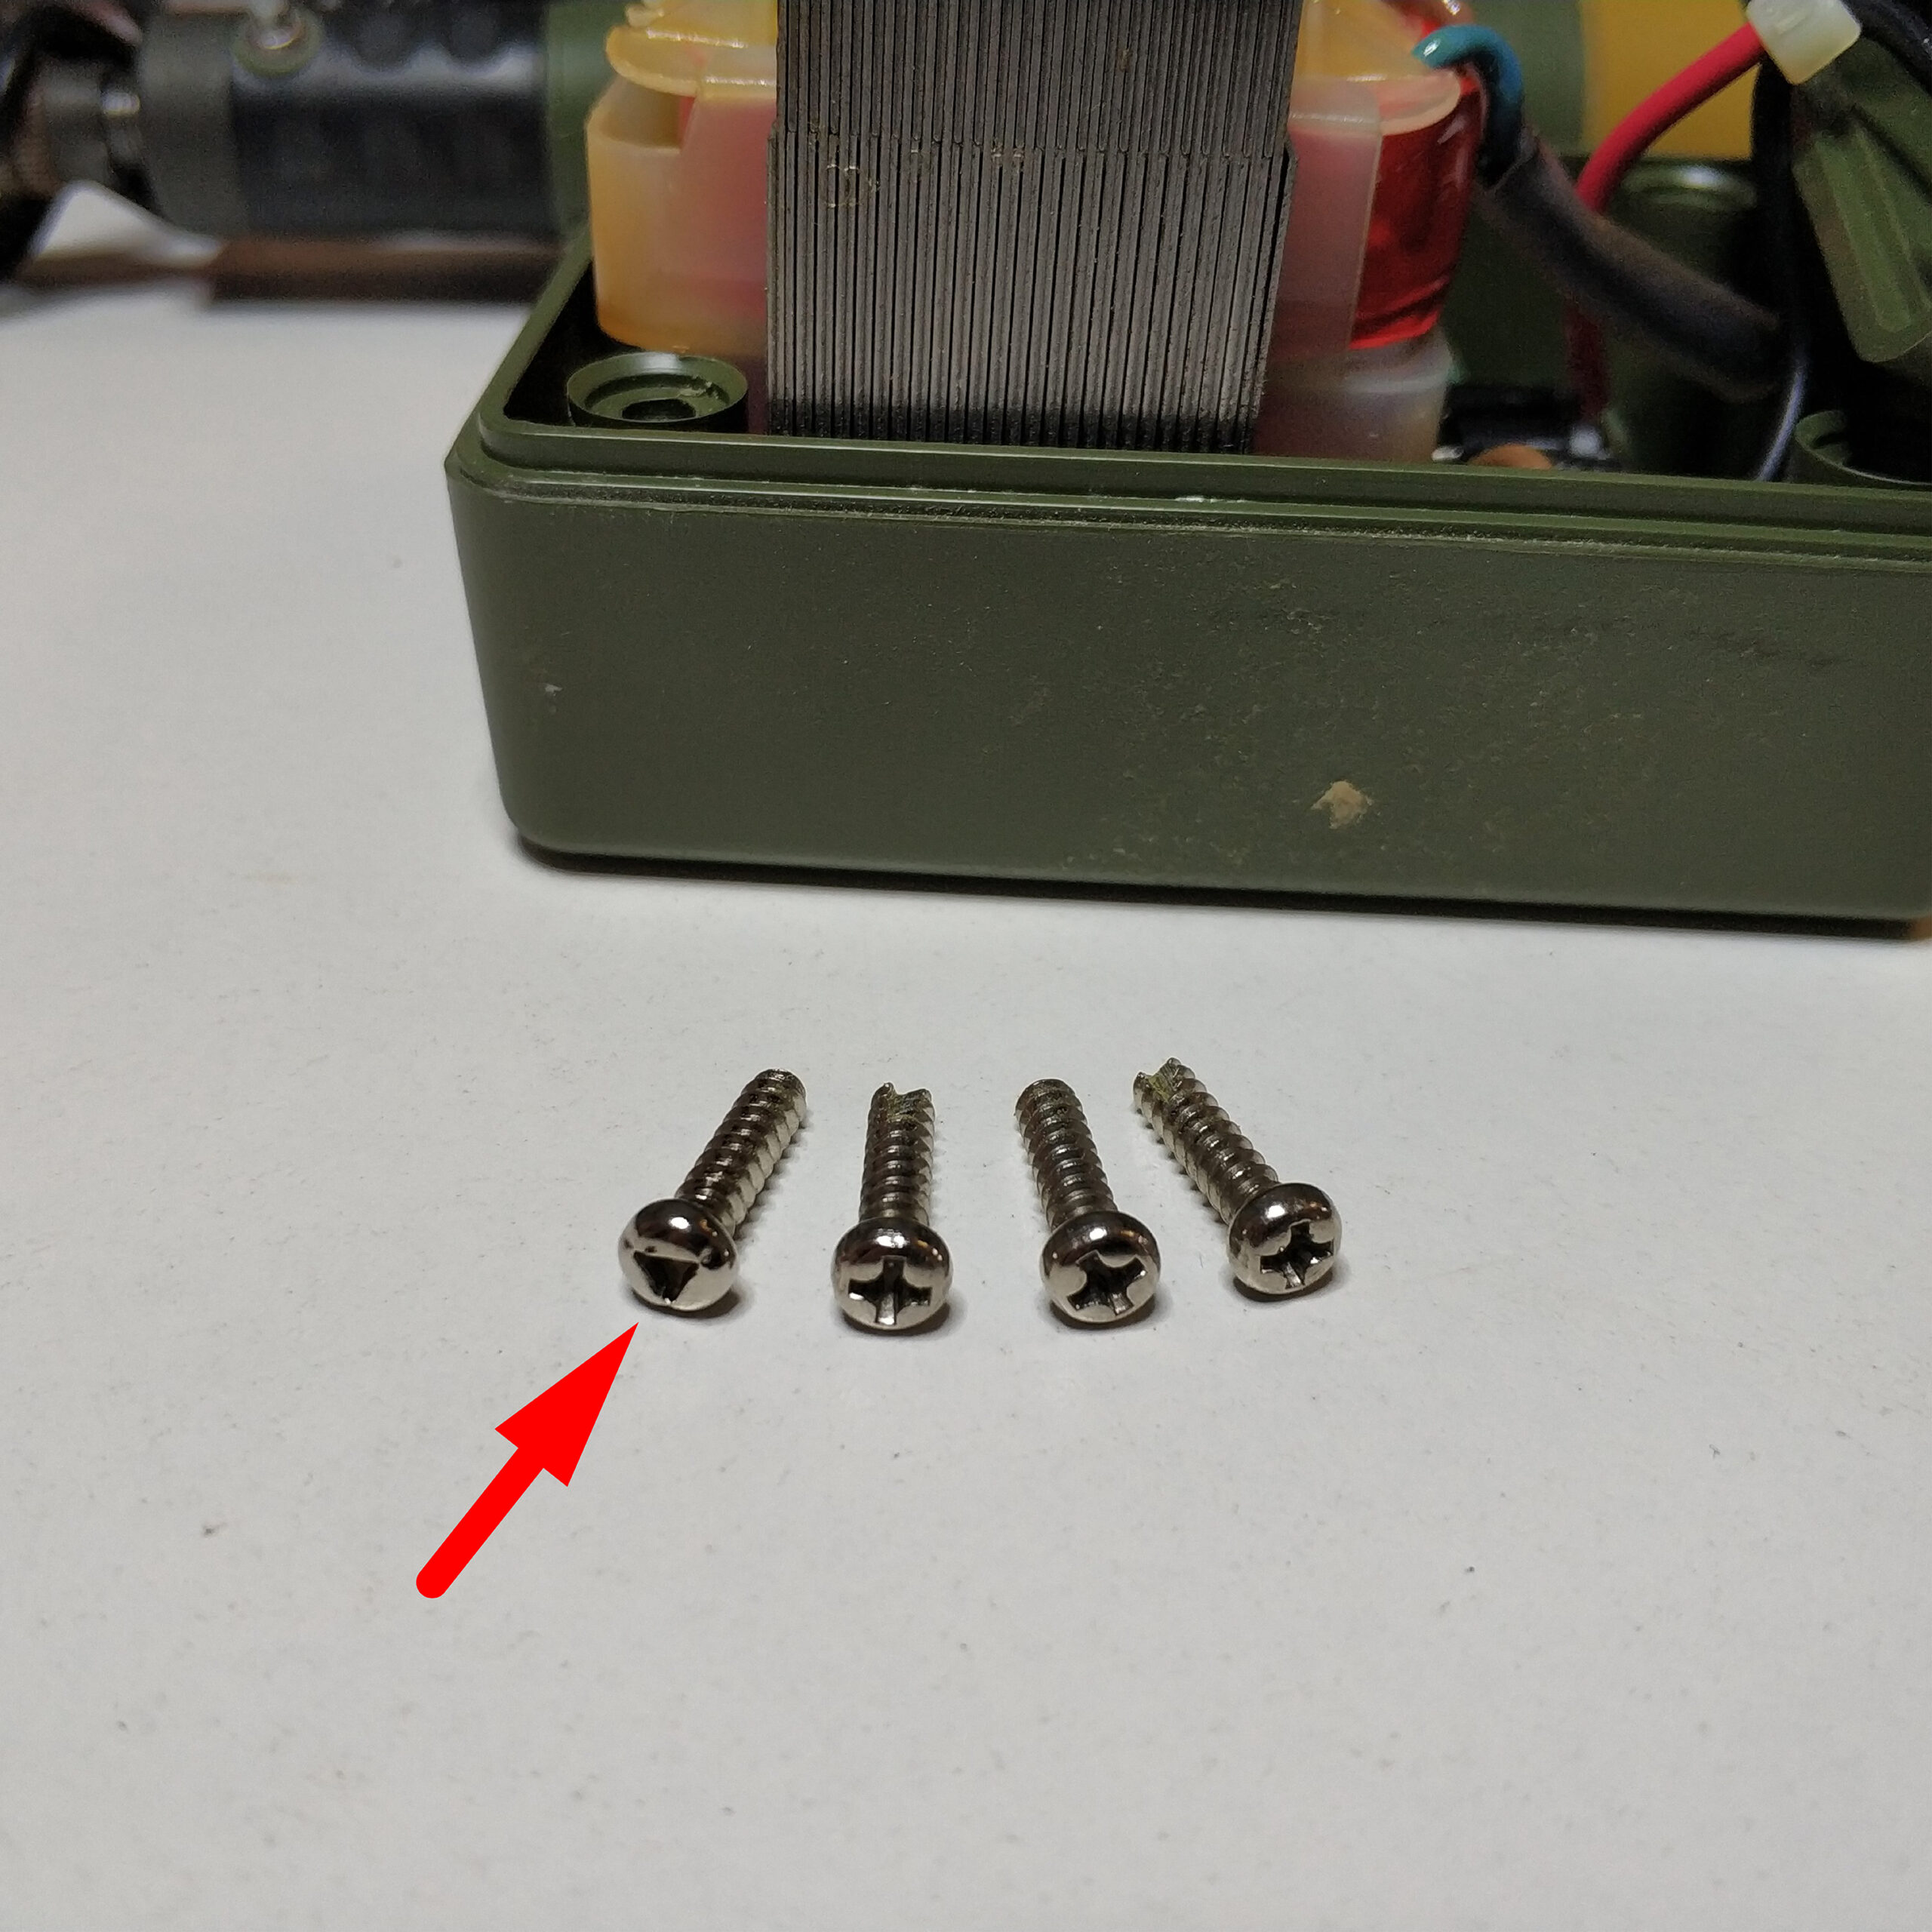
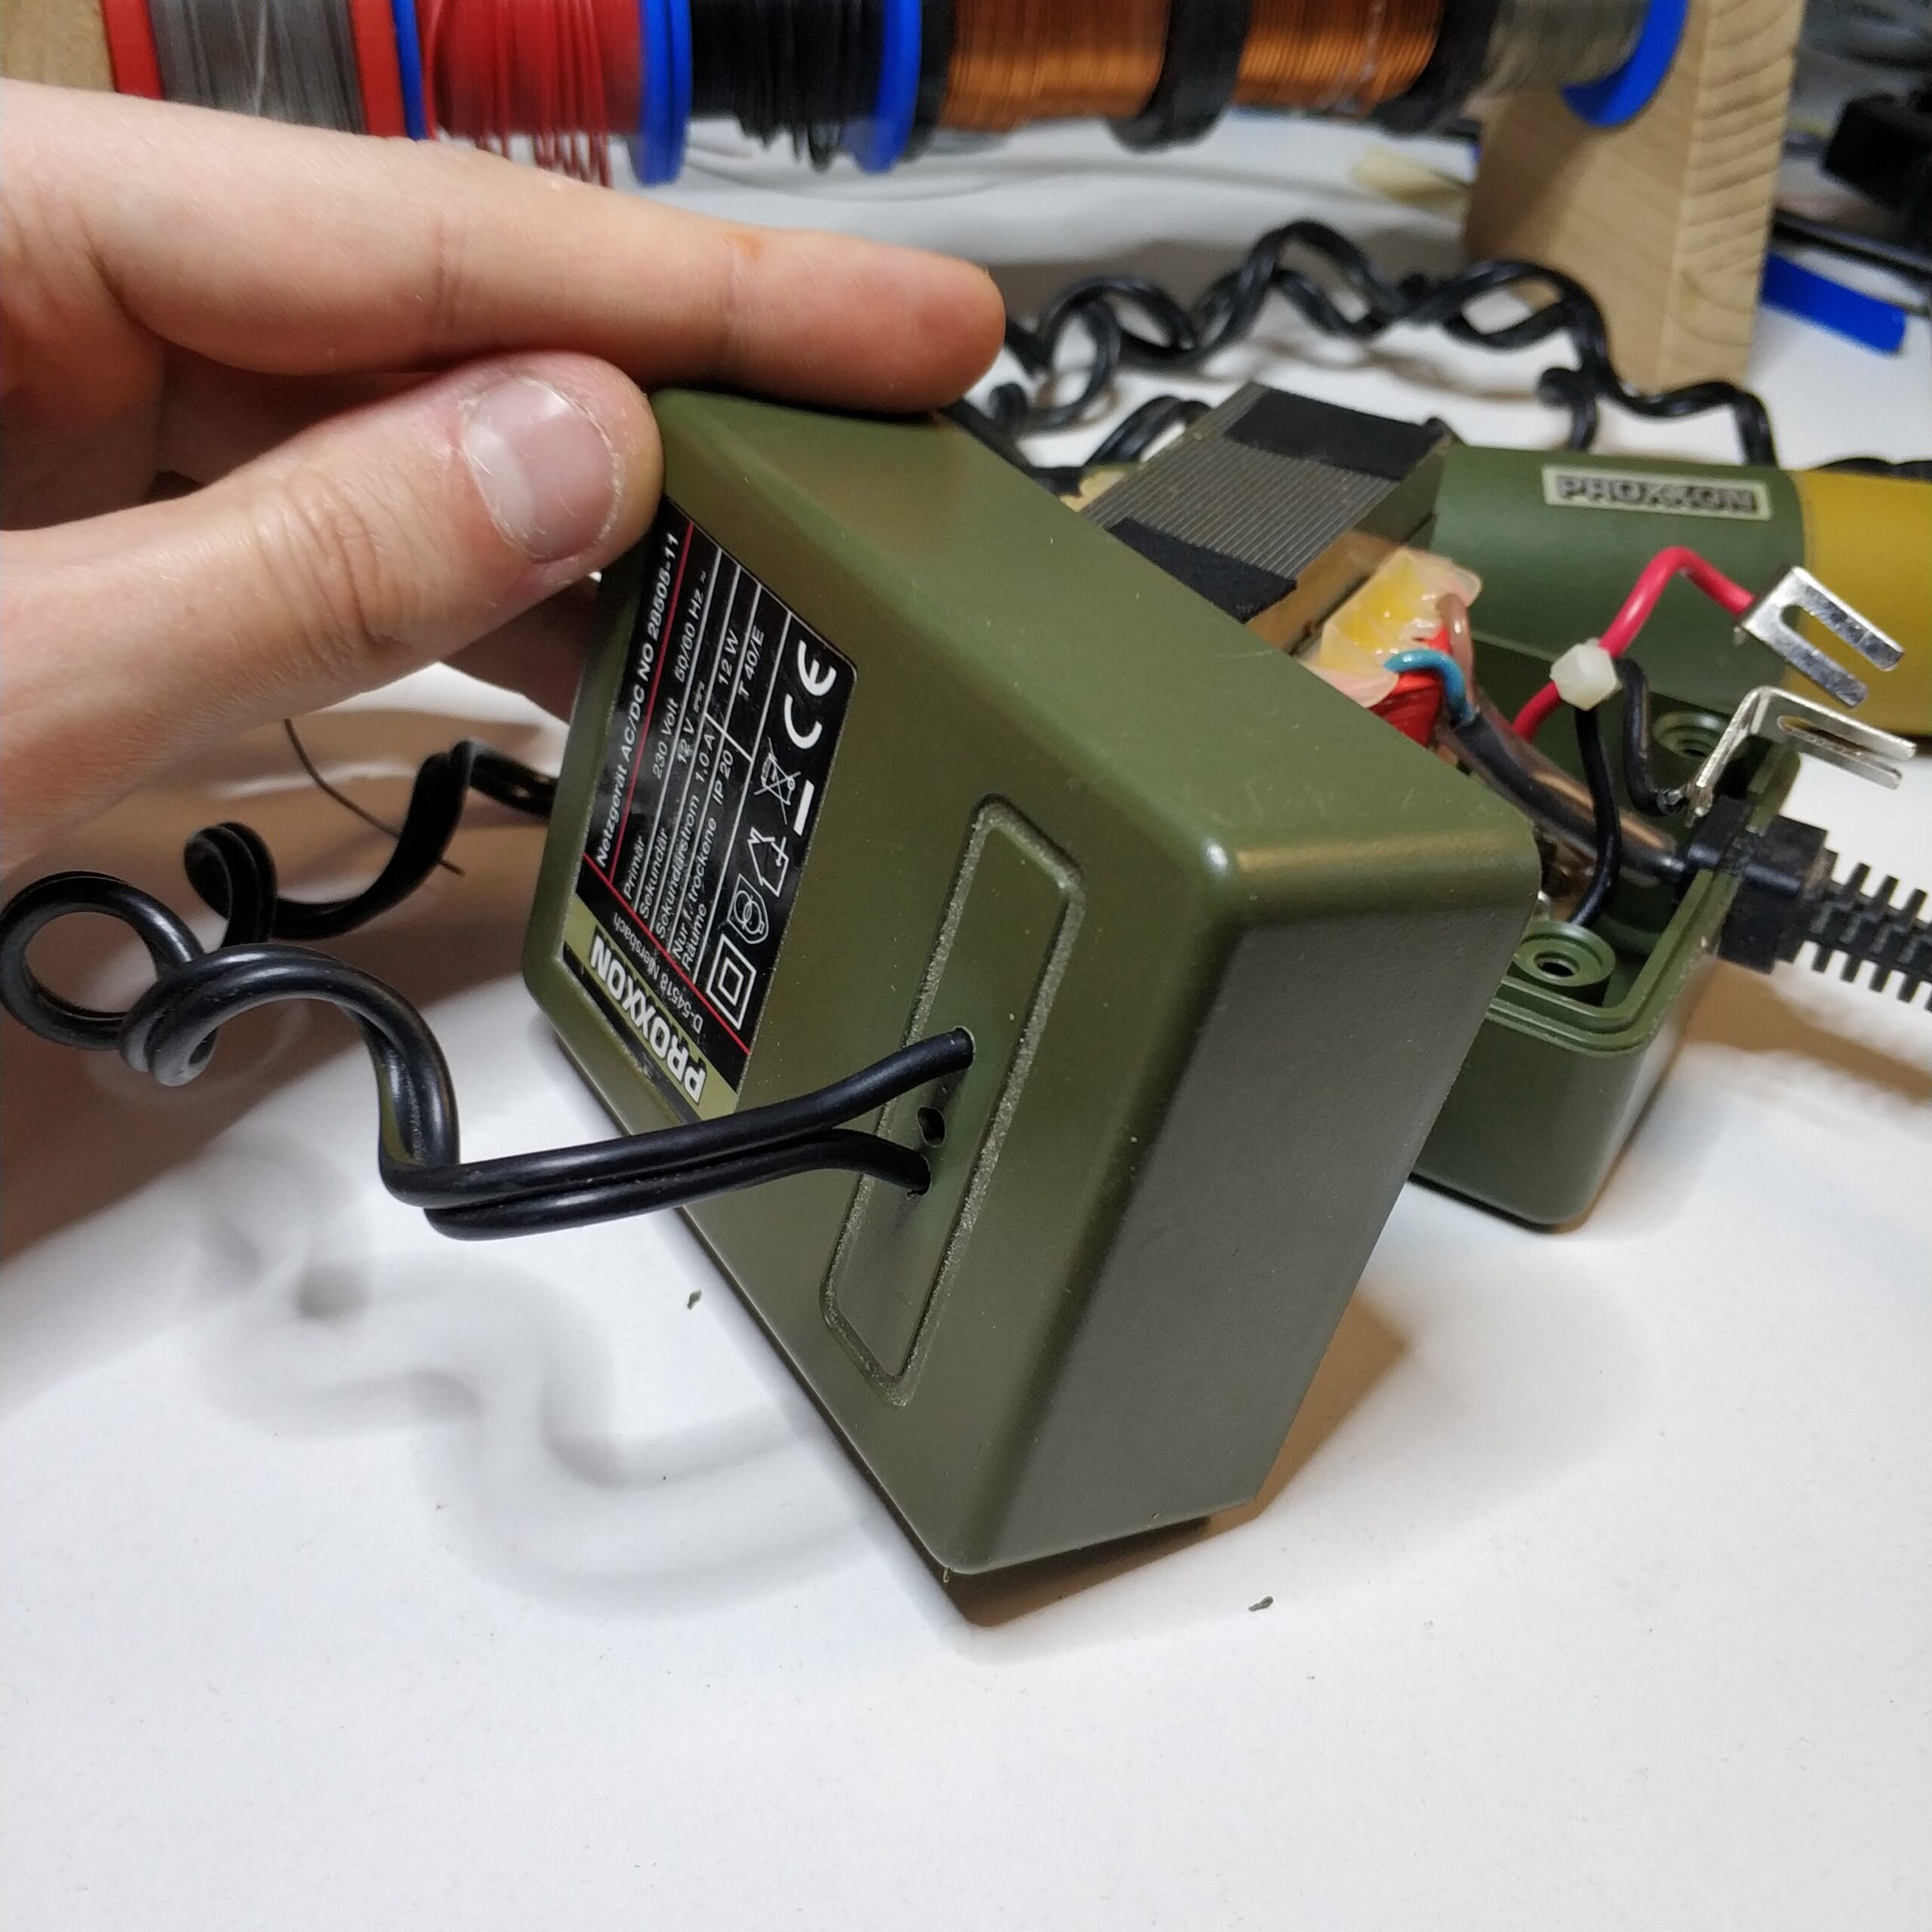
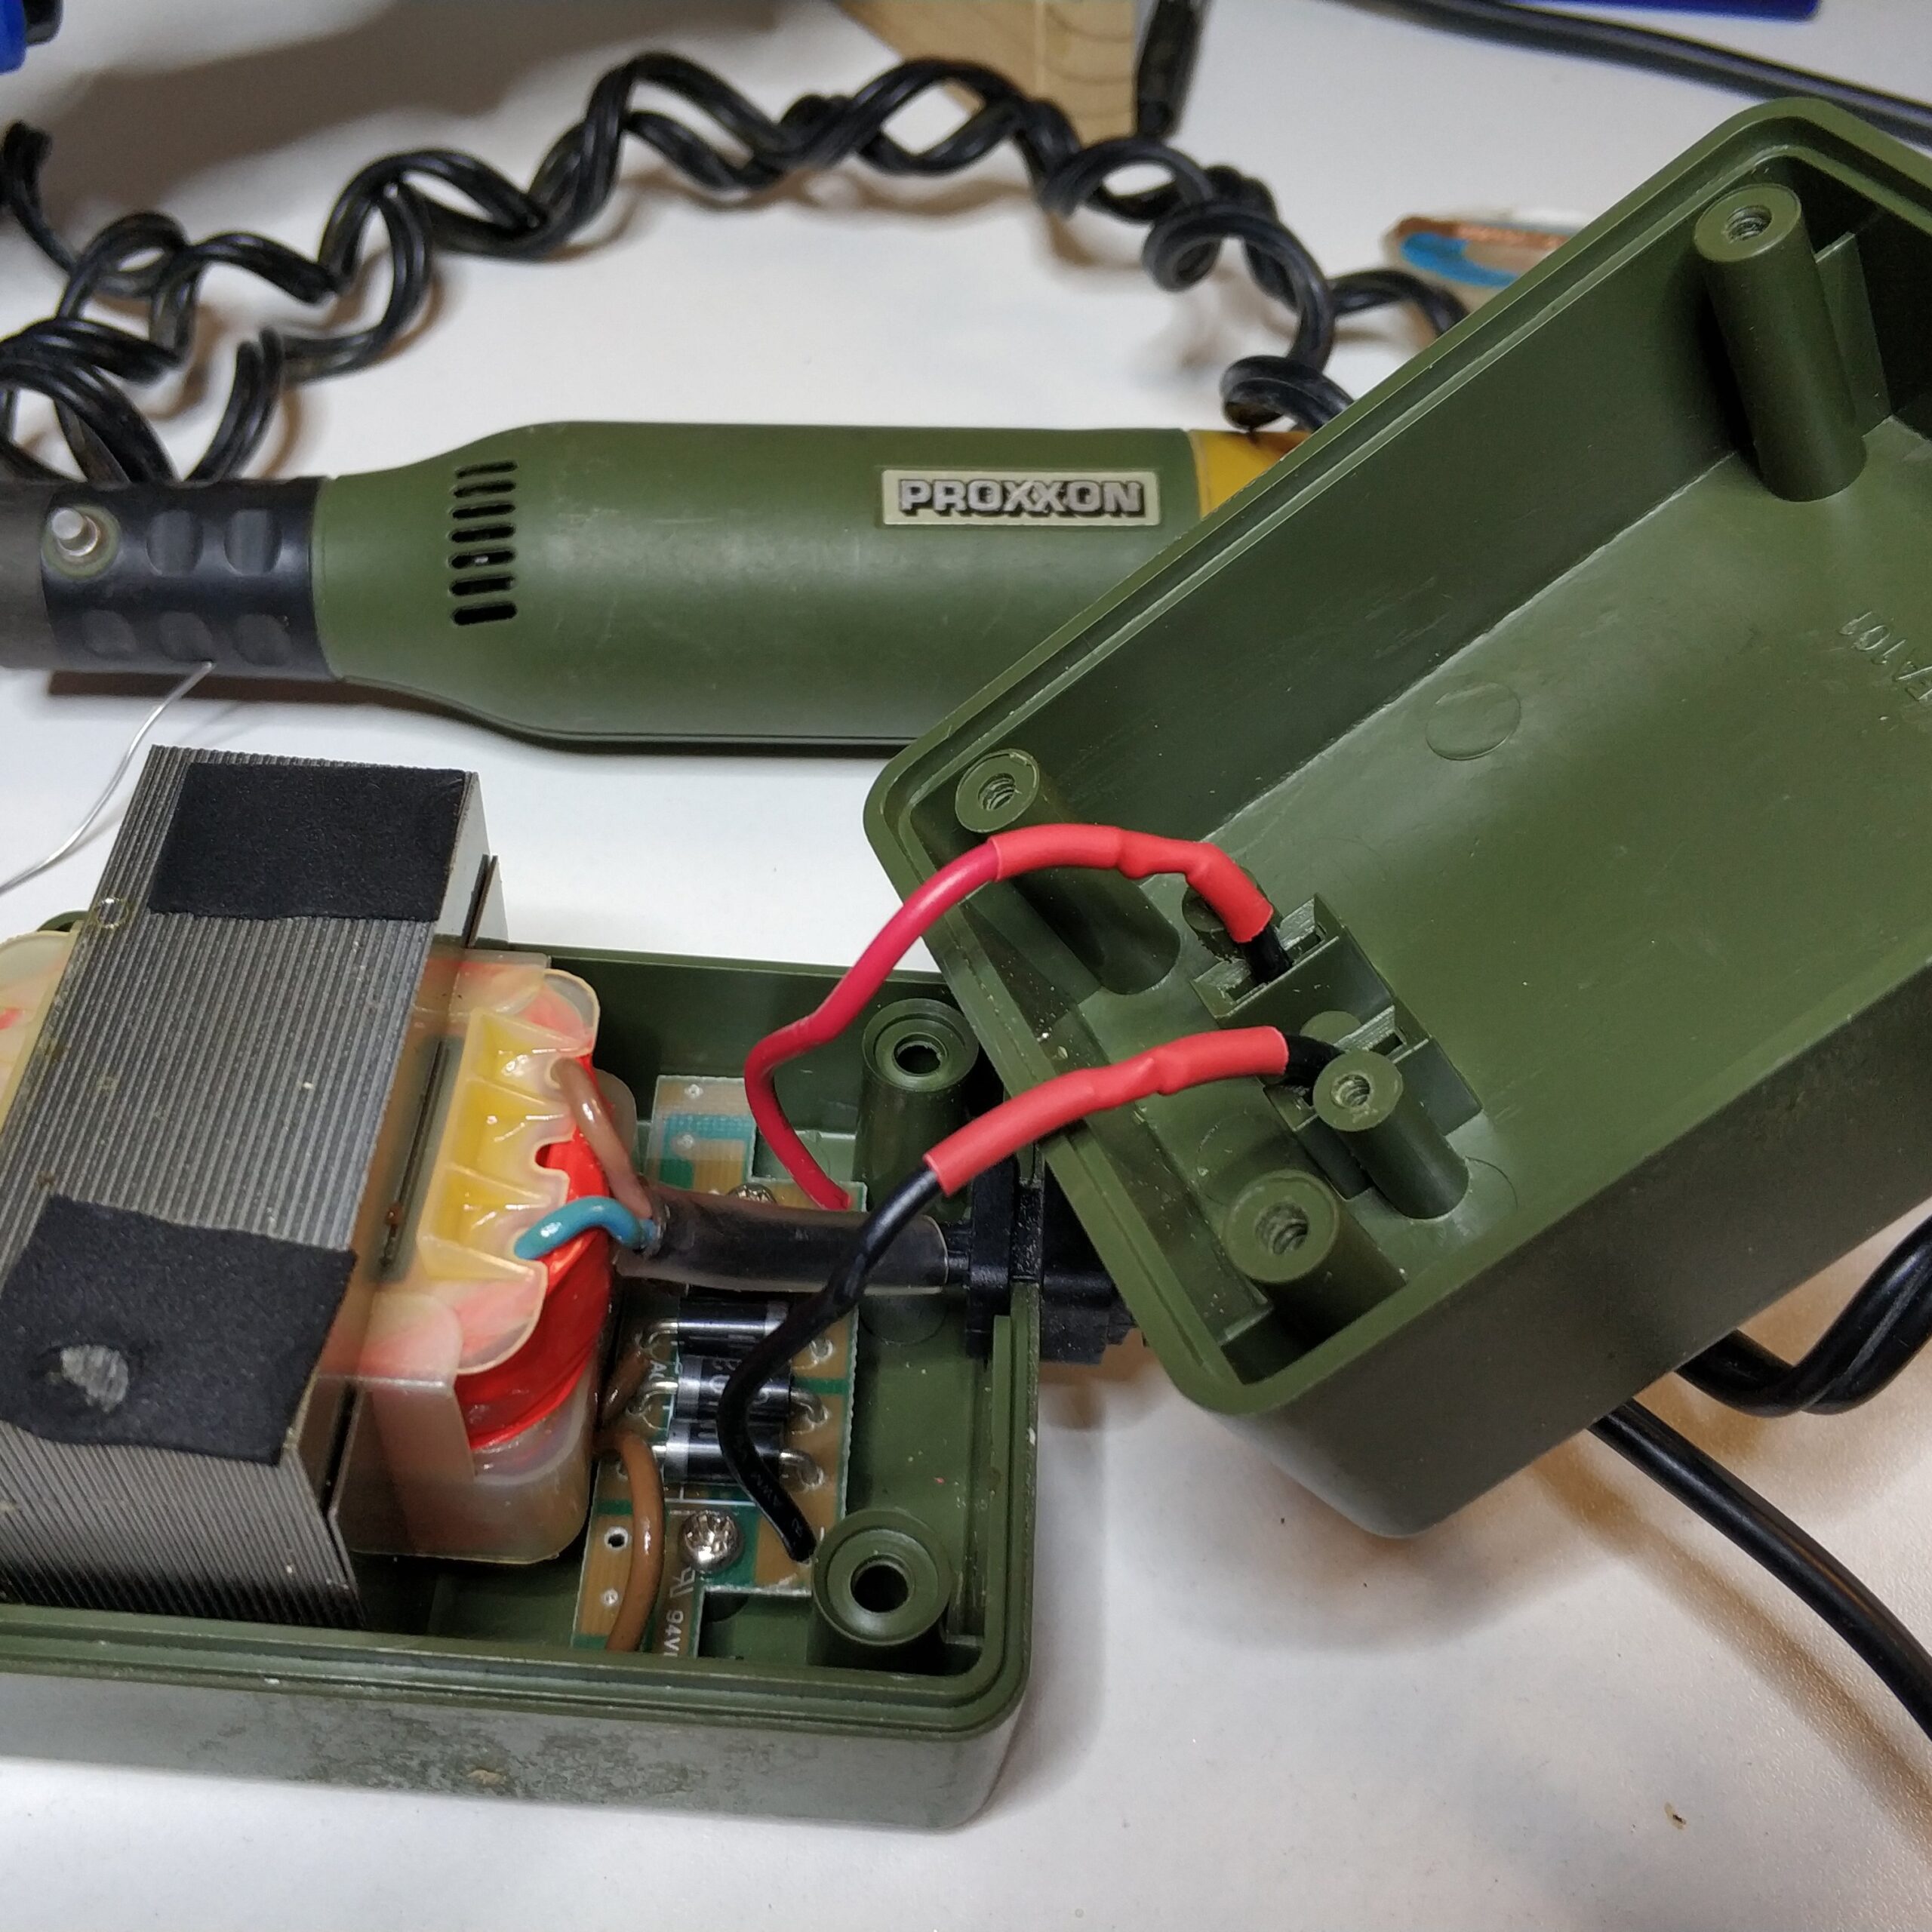
– Das Gehäuse aufgeschraubt. (Stecker raus! – Hochspannung) Eine der Schrauben war dreieckig. Glücklicherweise hatte ich einen passenden Bit zur Hand.

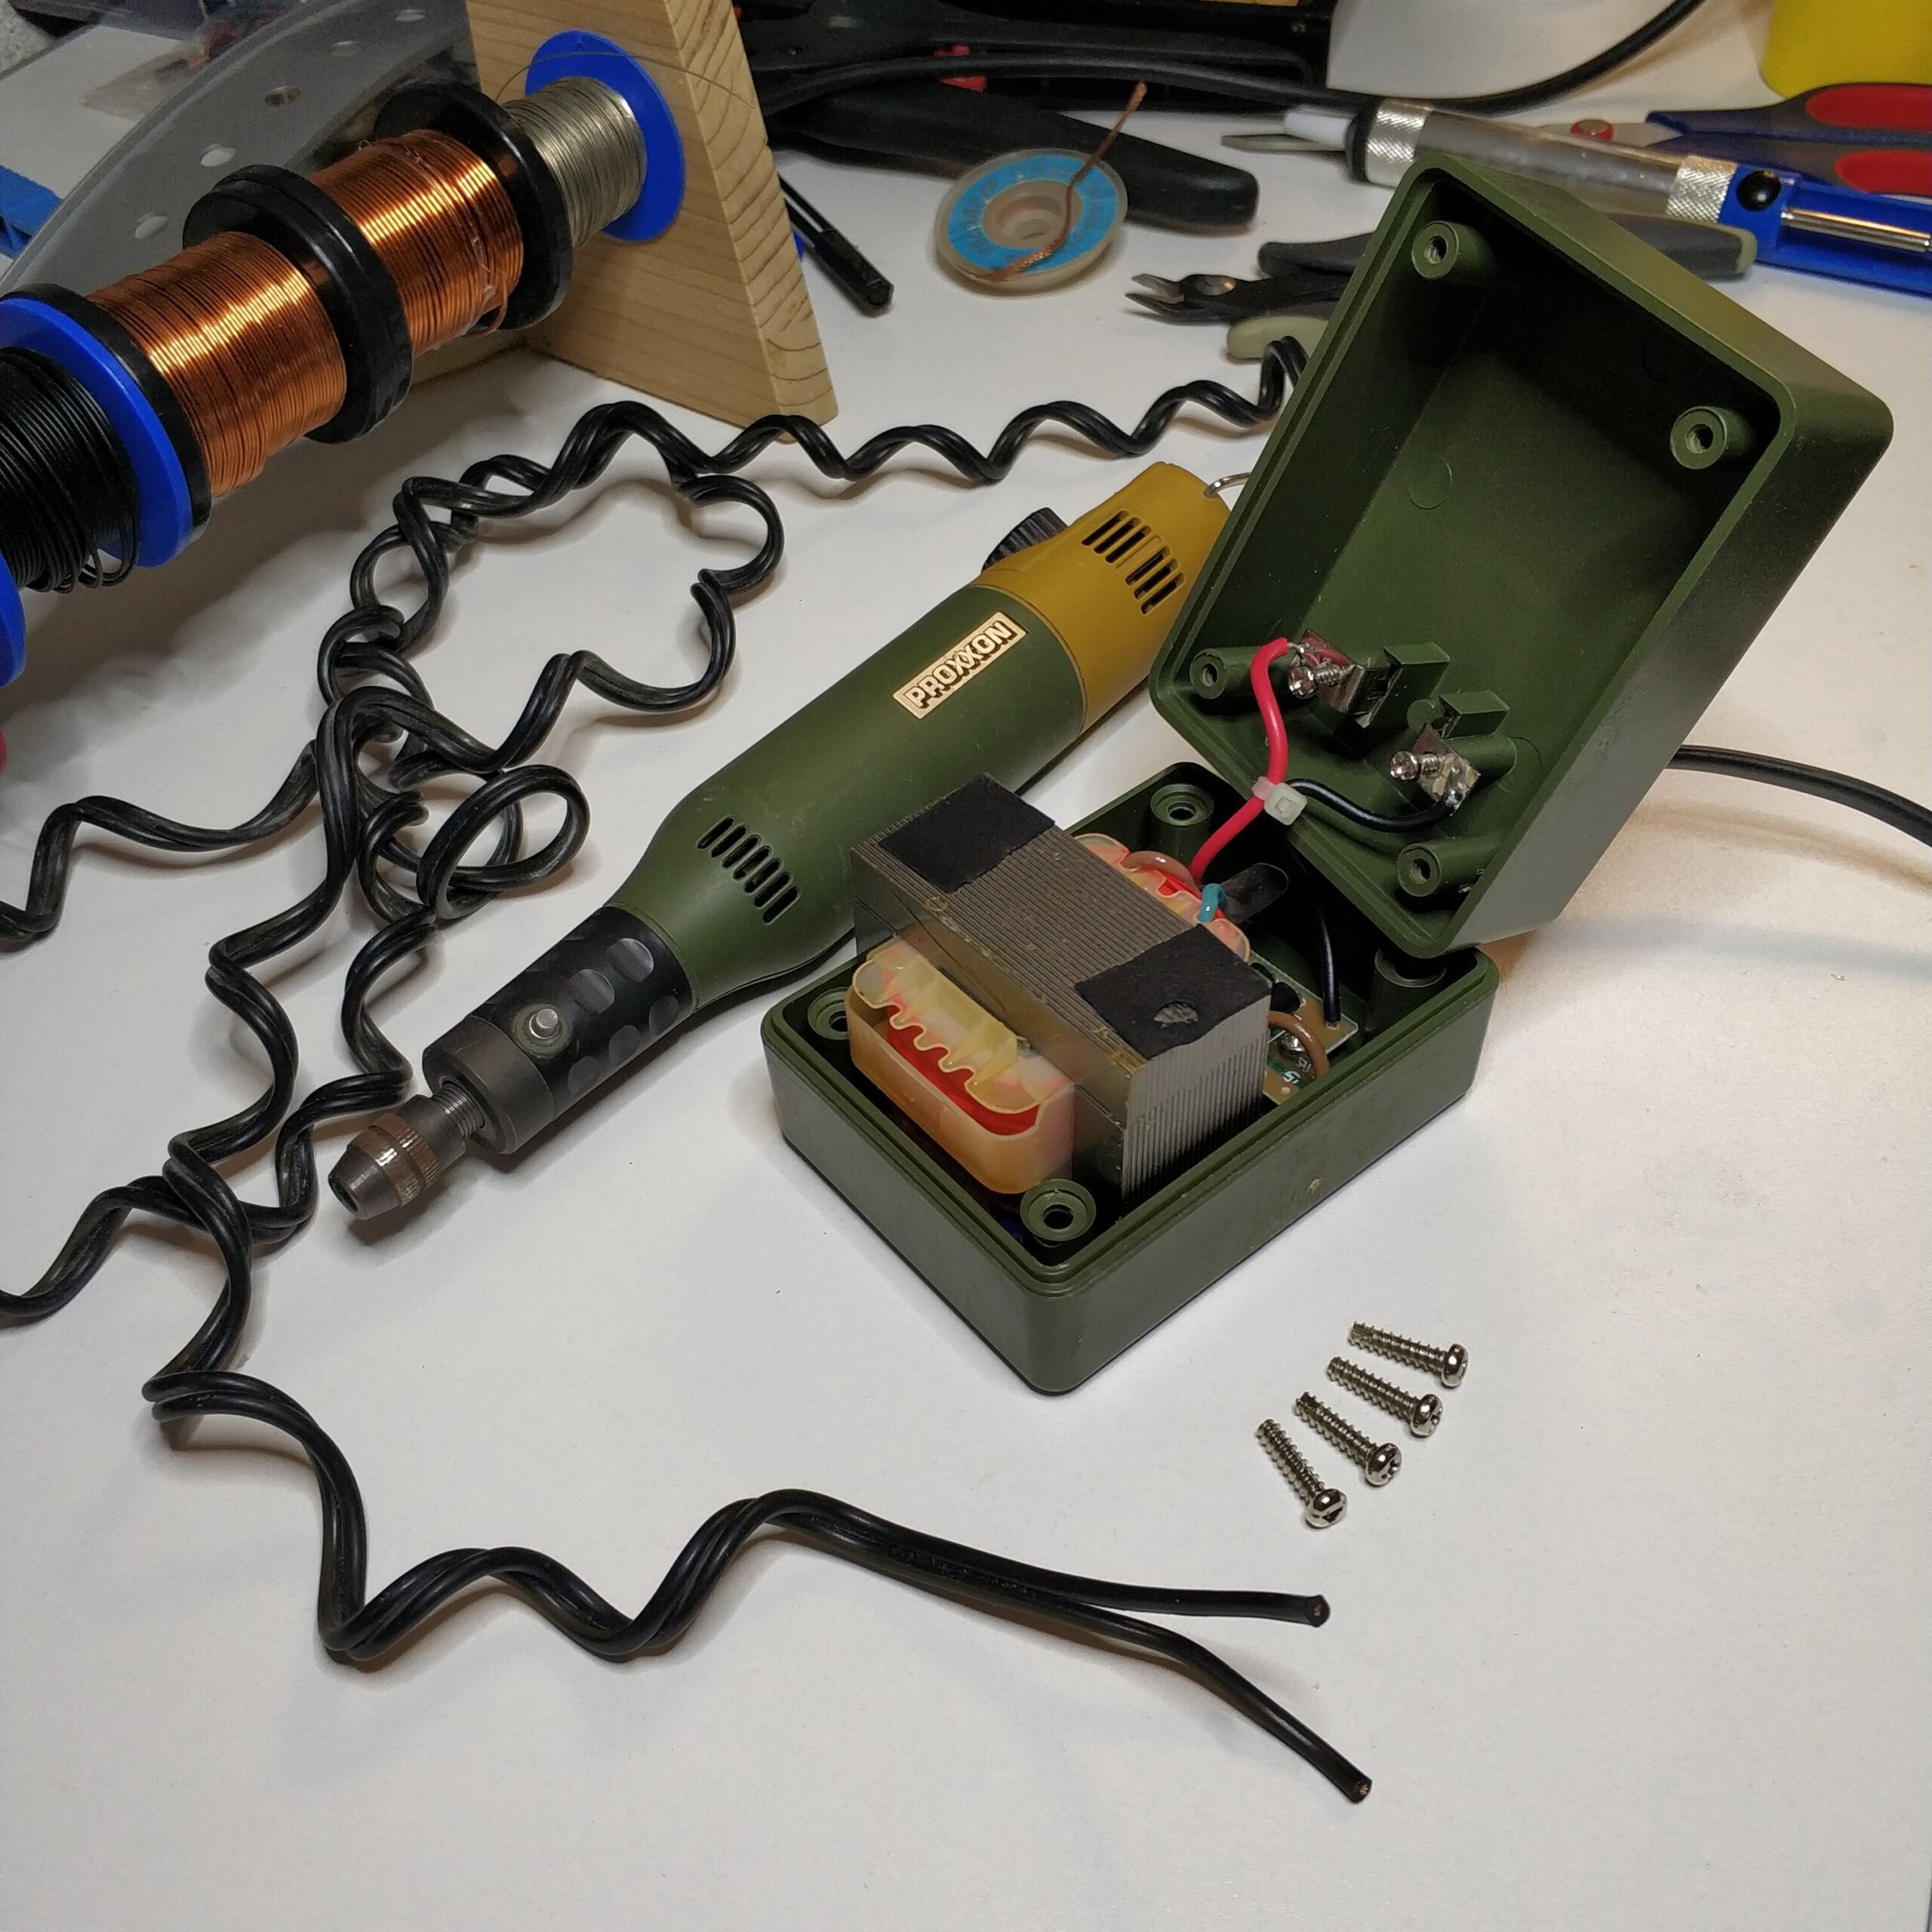
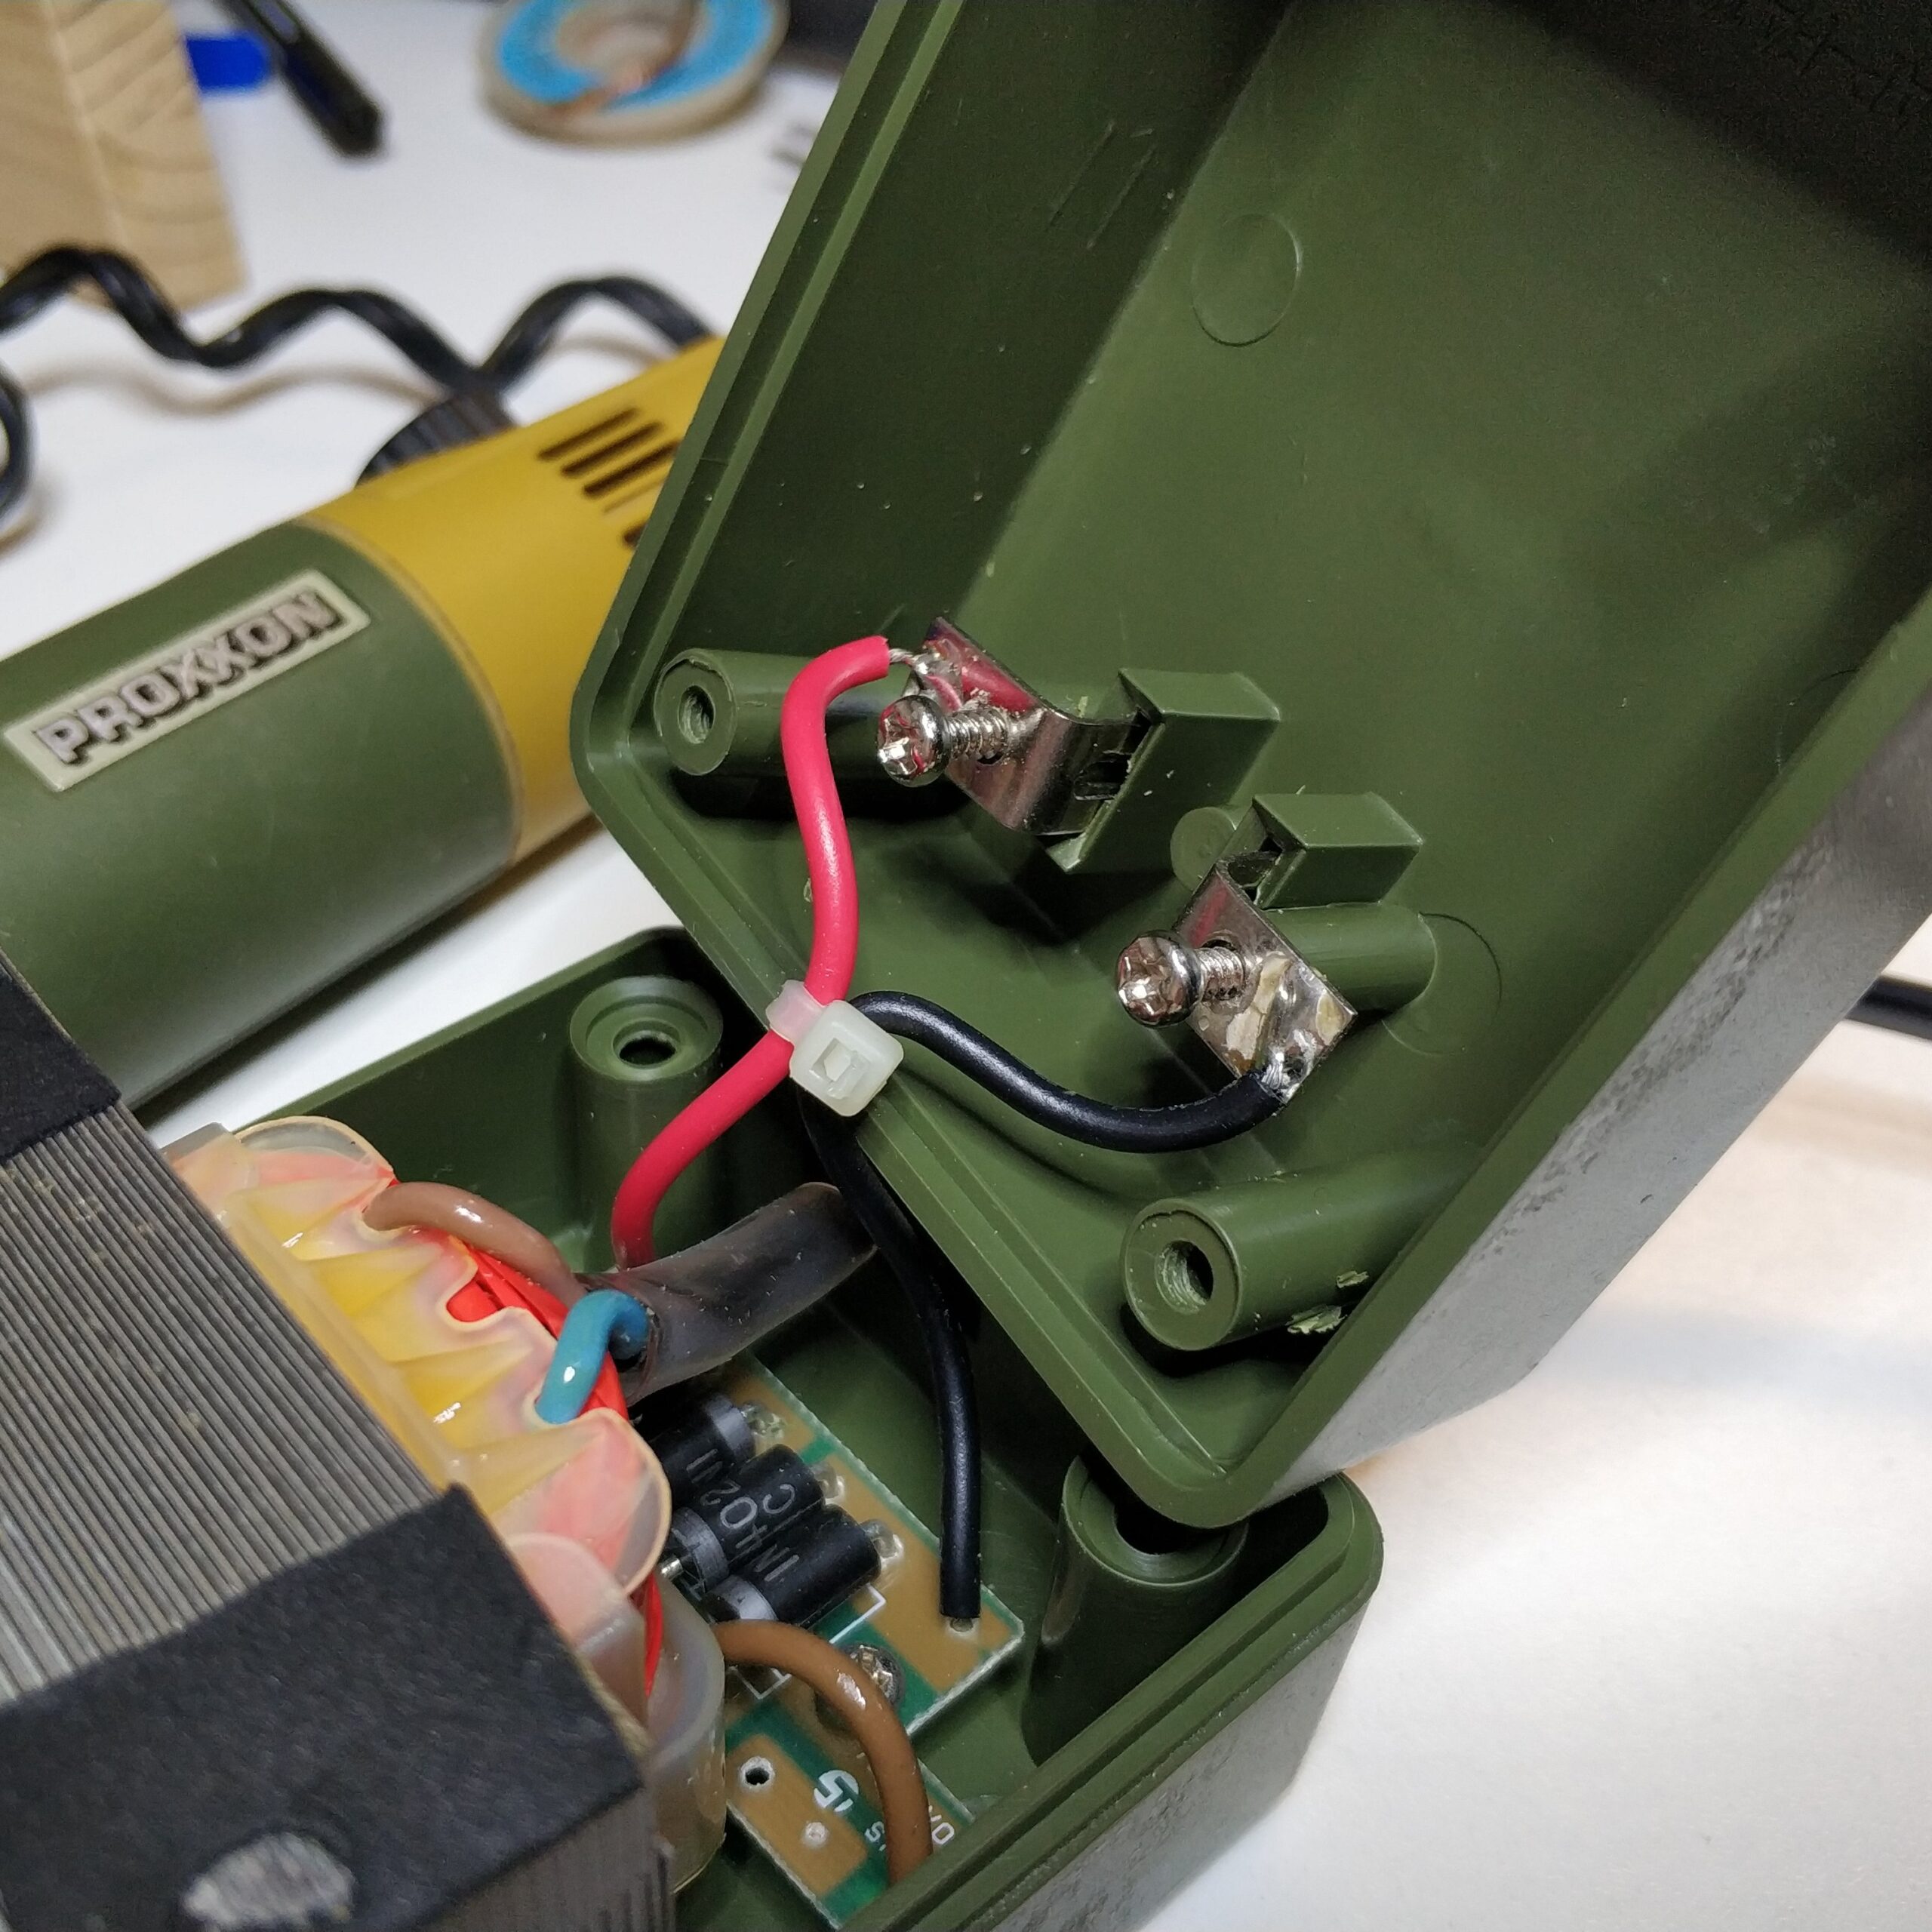
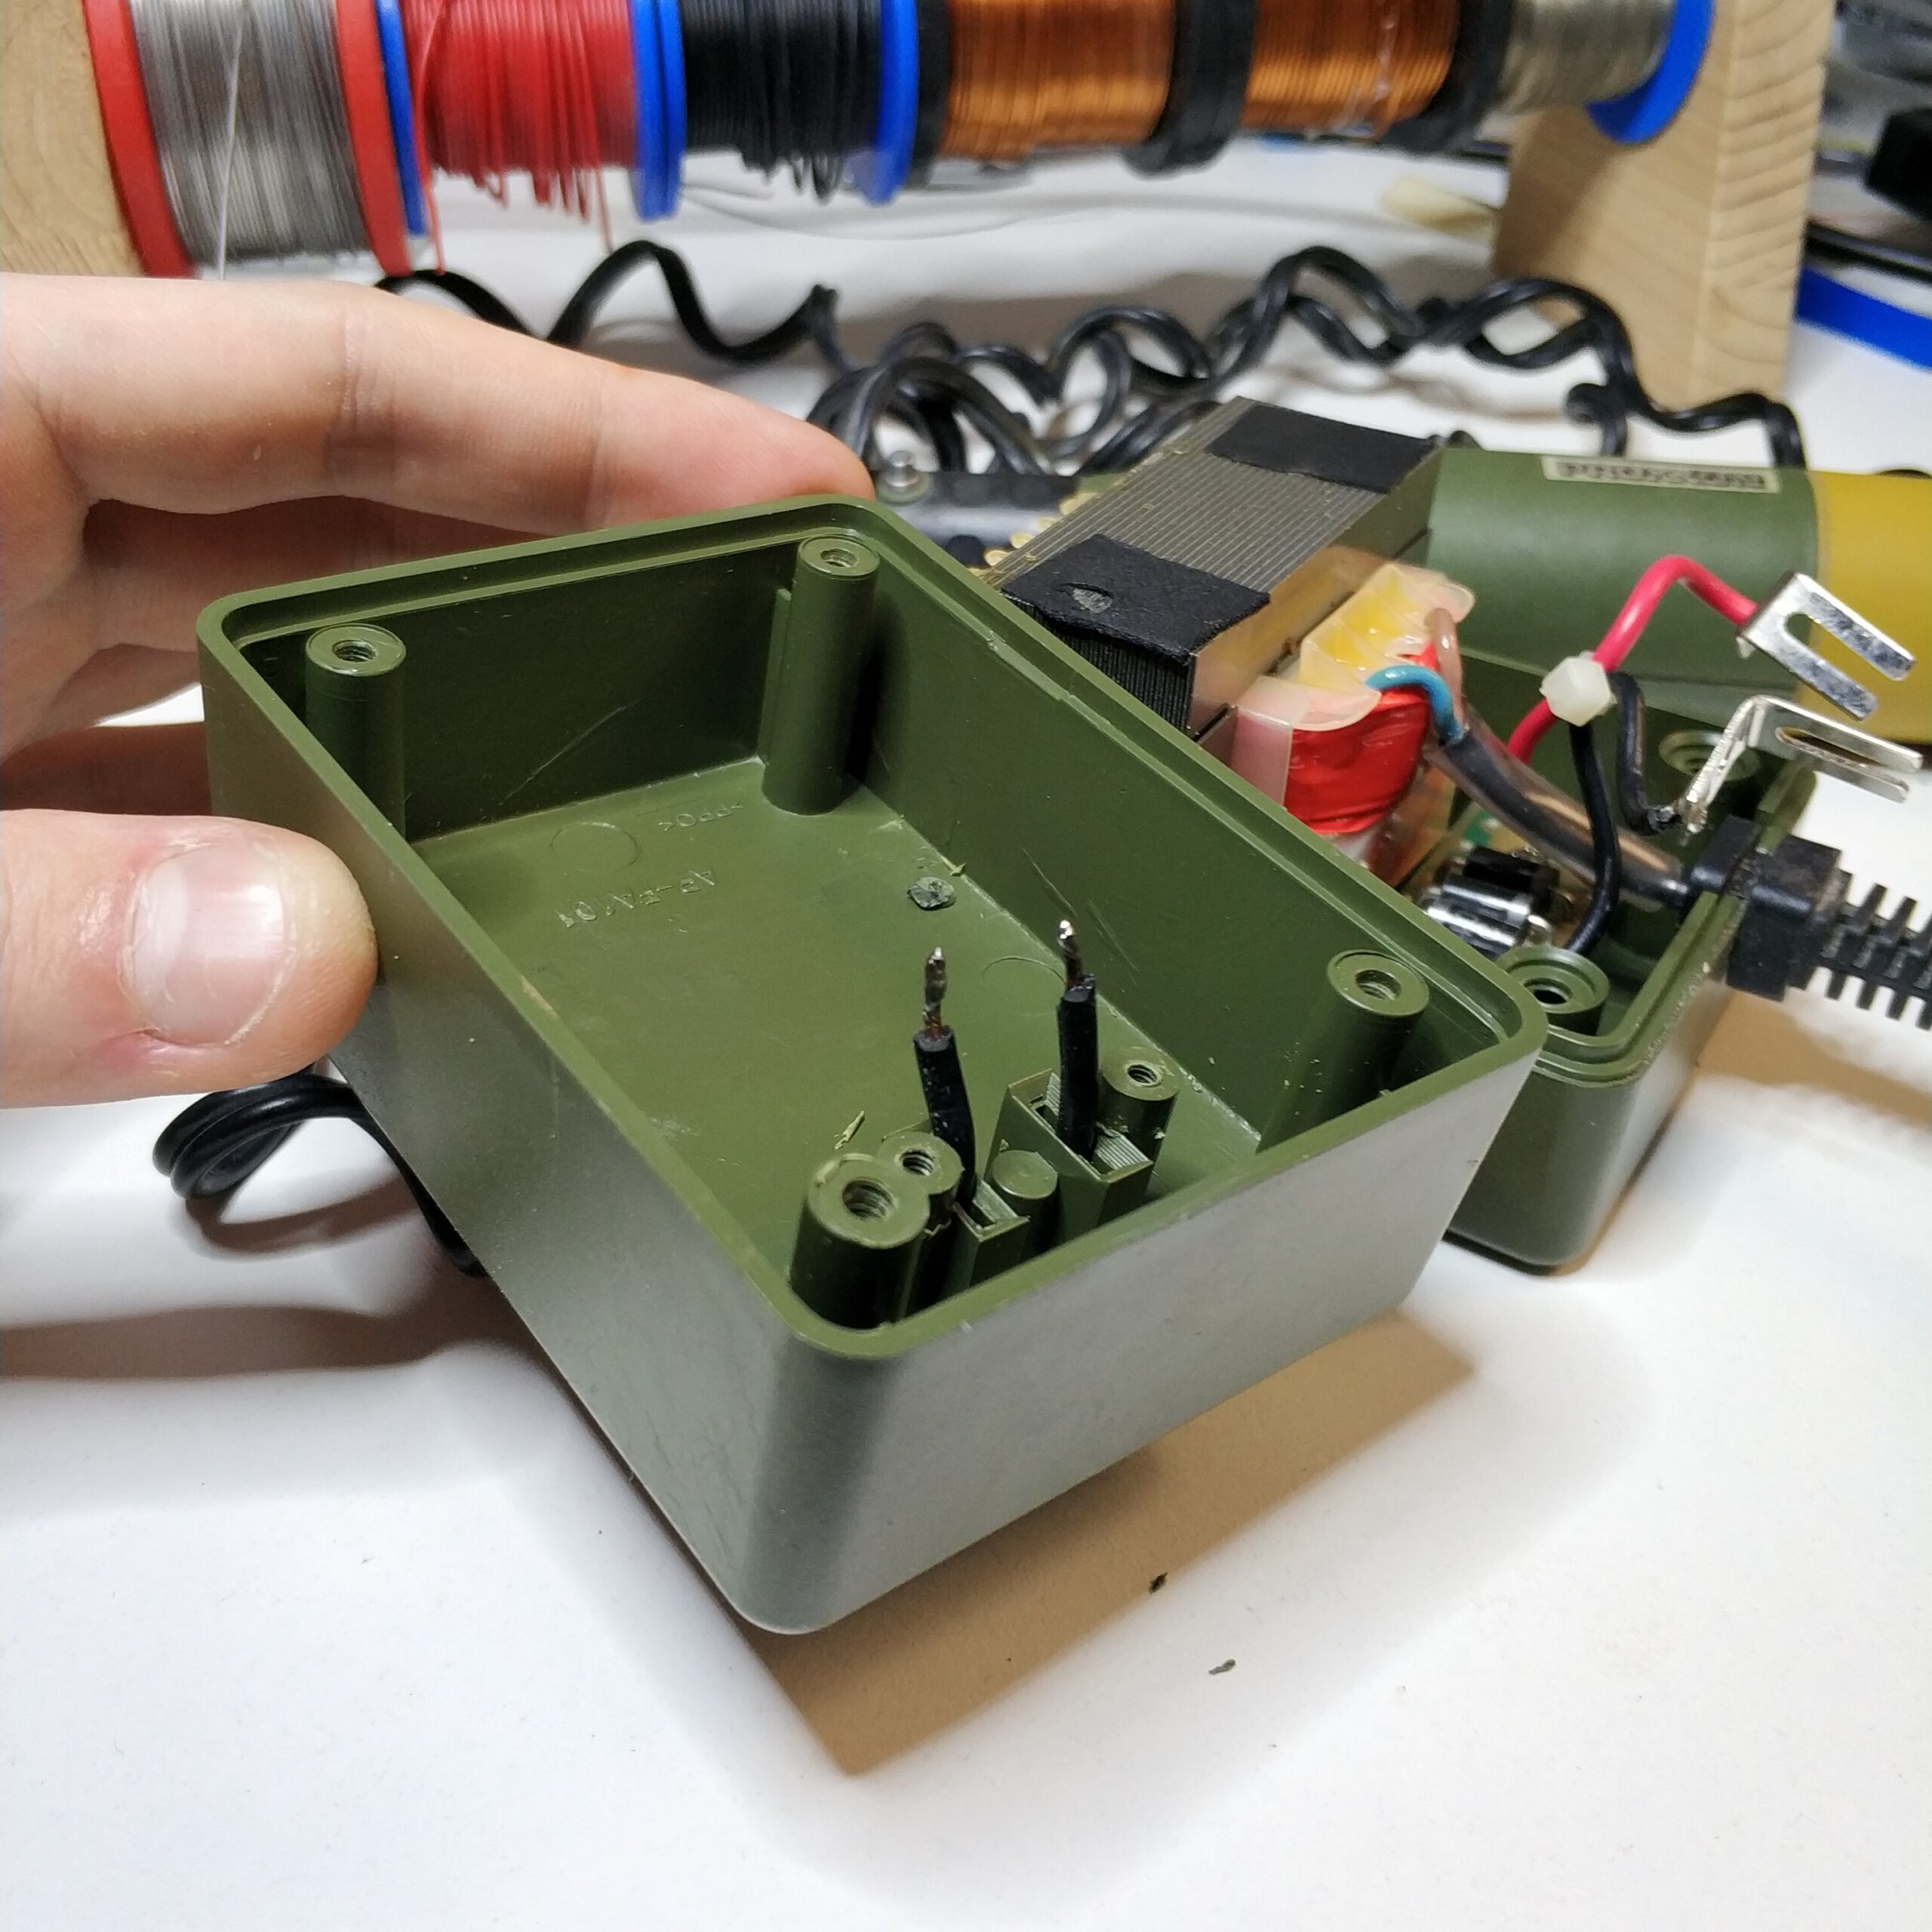
– Die zwei Schrauben der Kontakte gelöst.

– Die Kabel von den Kontaktplättchen abgelötet.

– Die Löcher wo vorher die Stecker drinnen waren etwas aufgebohrt.

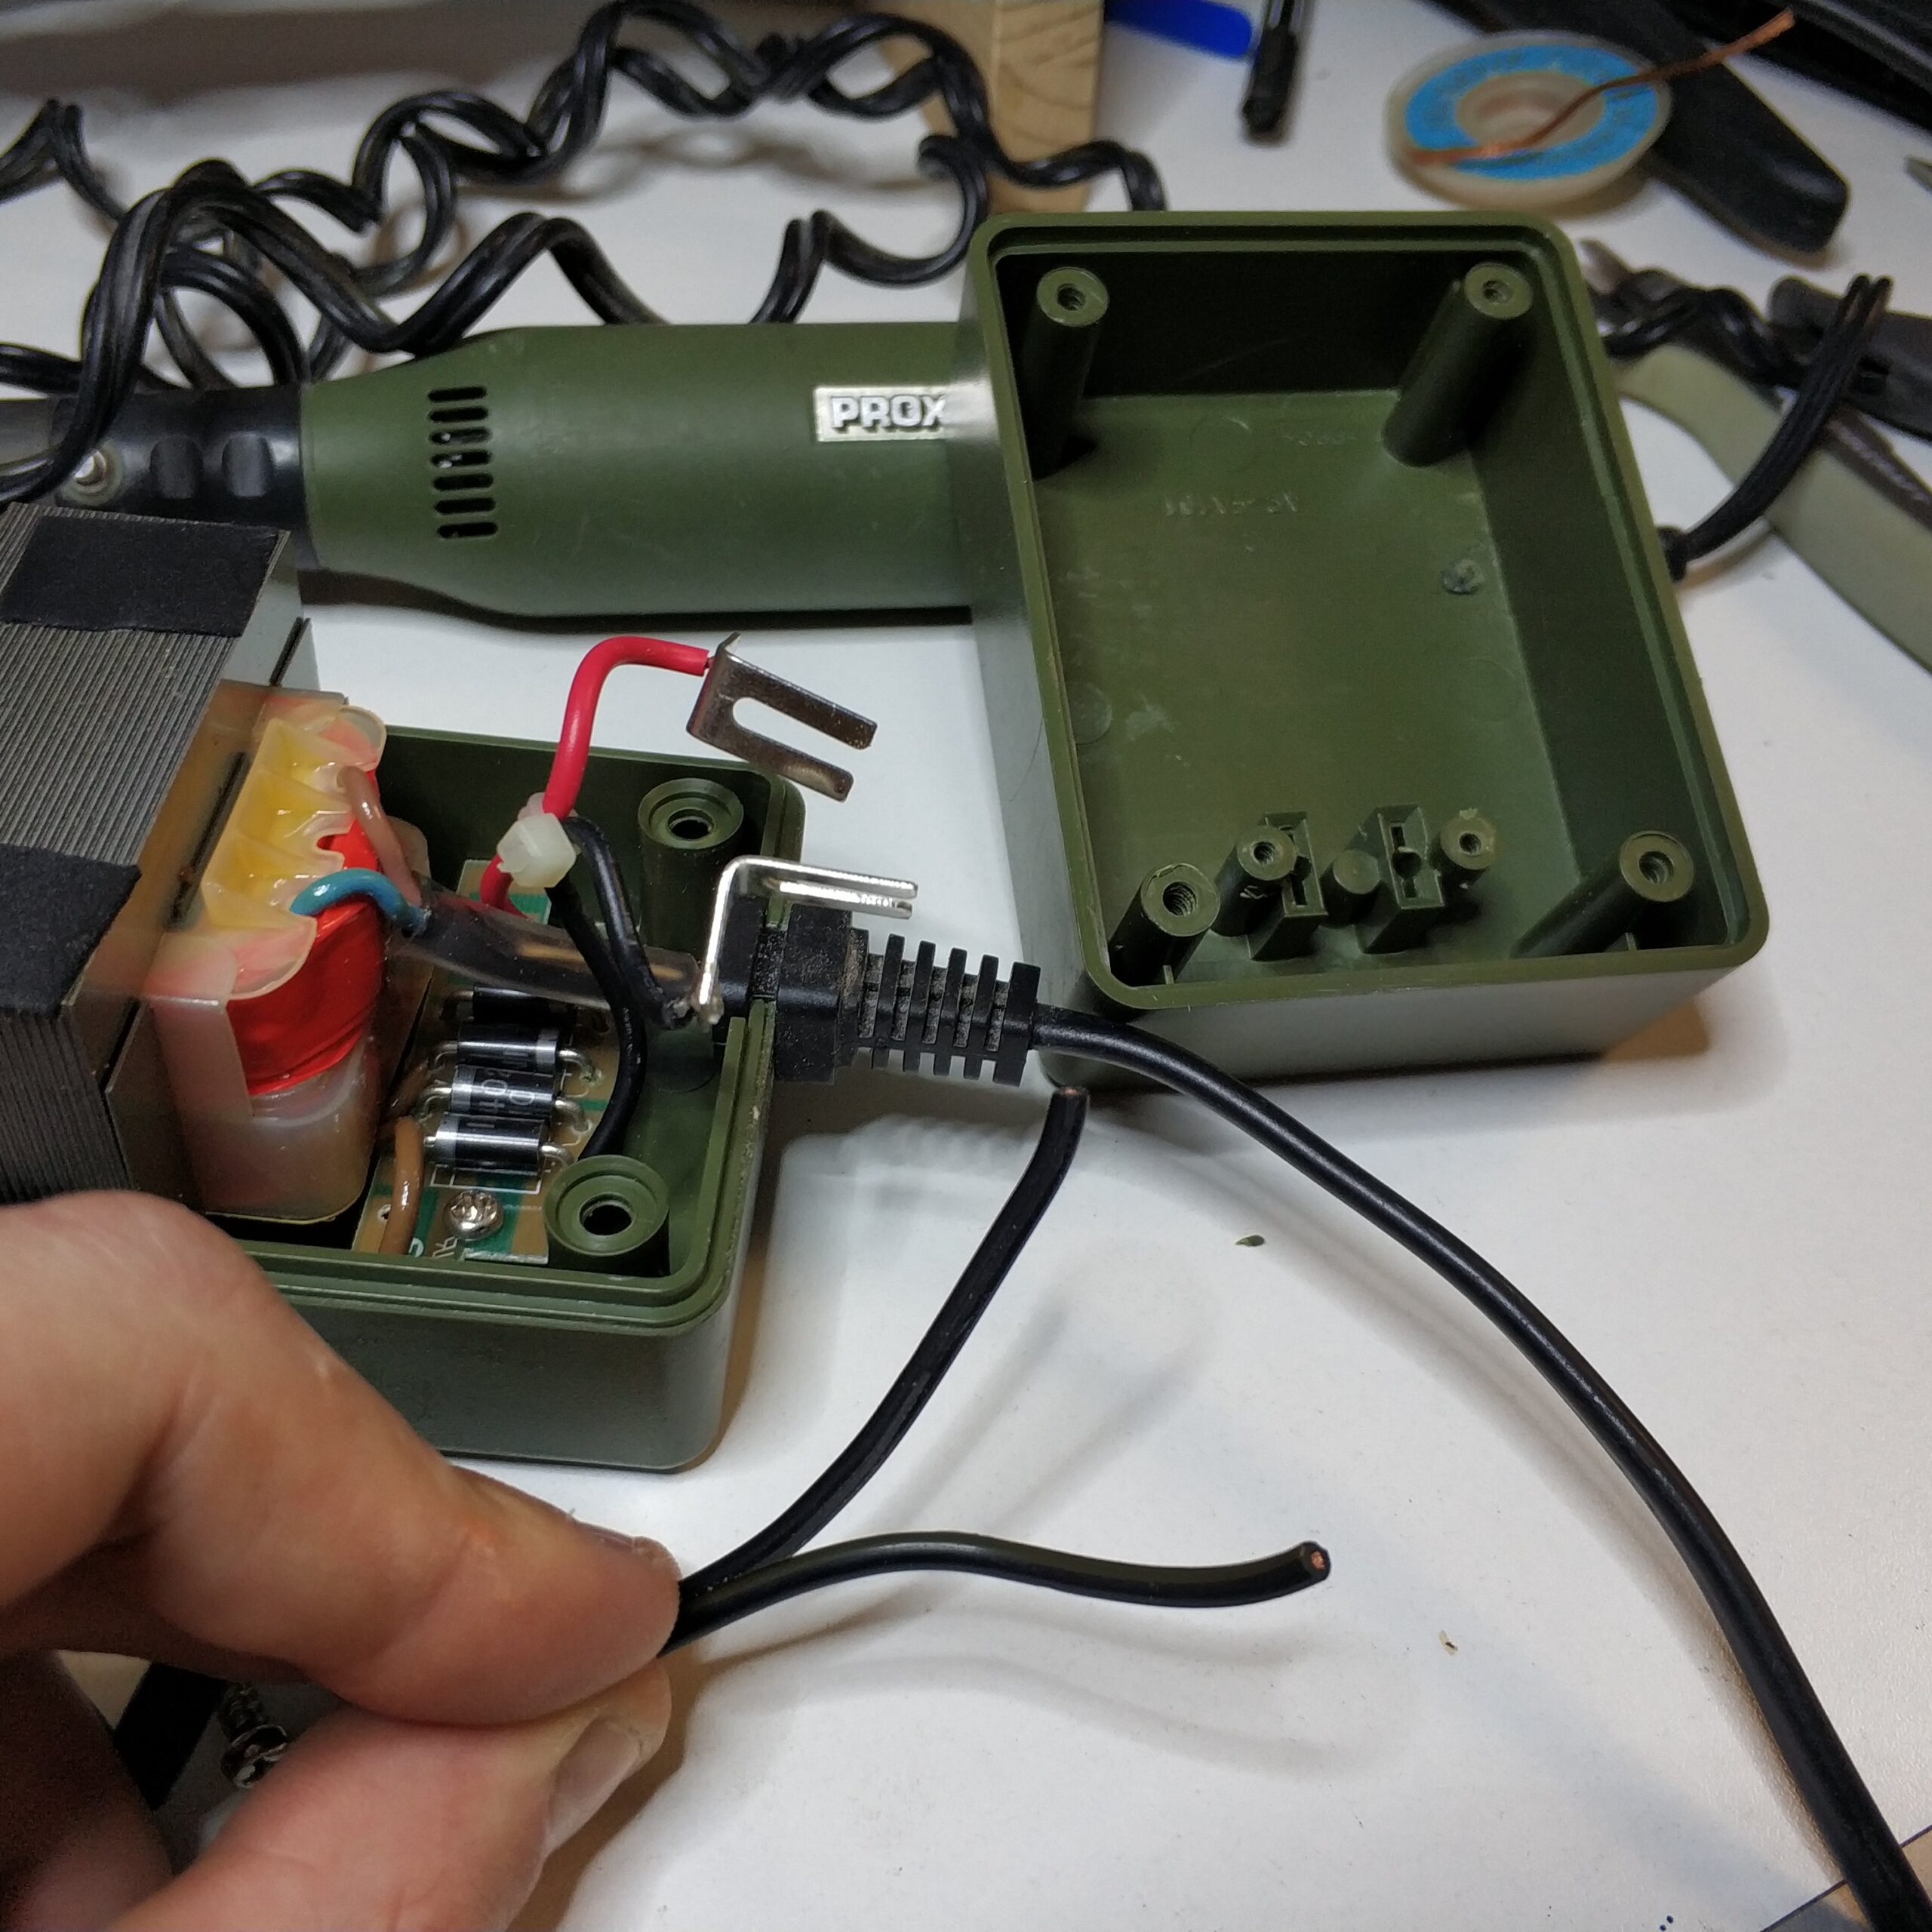
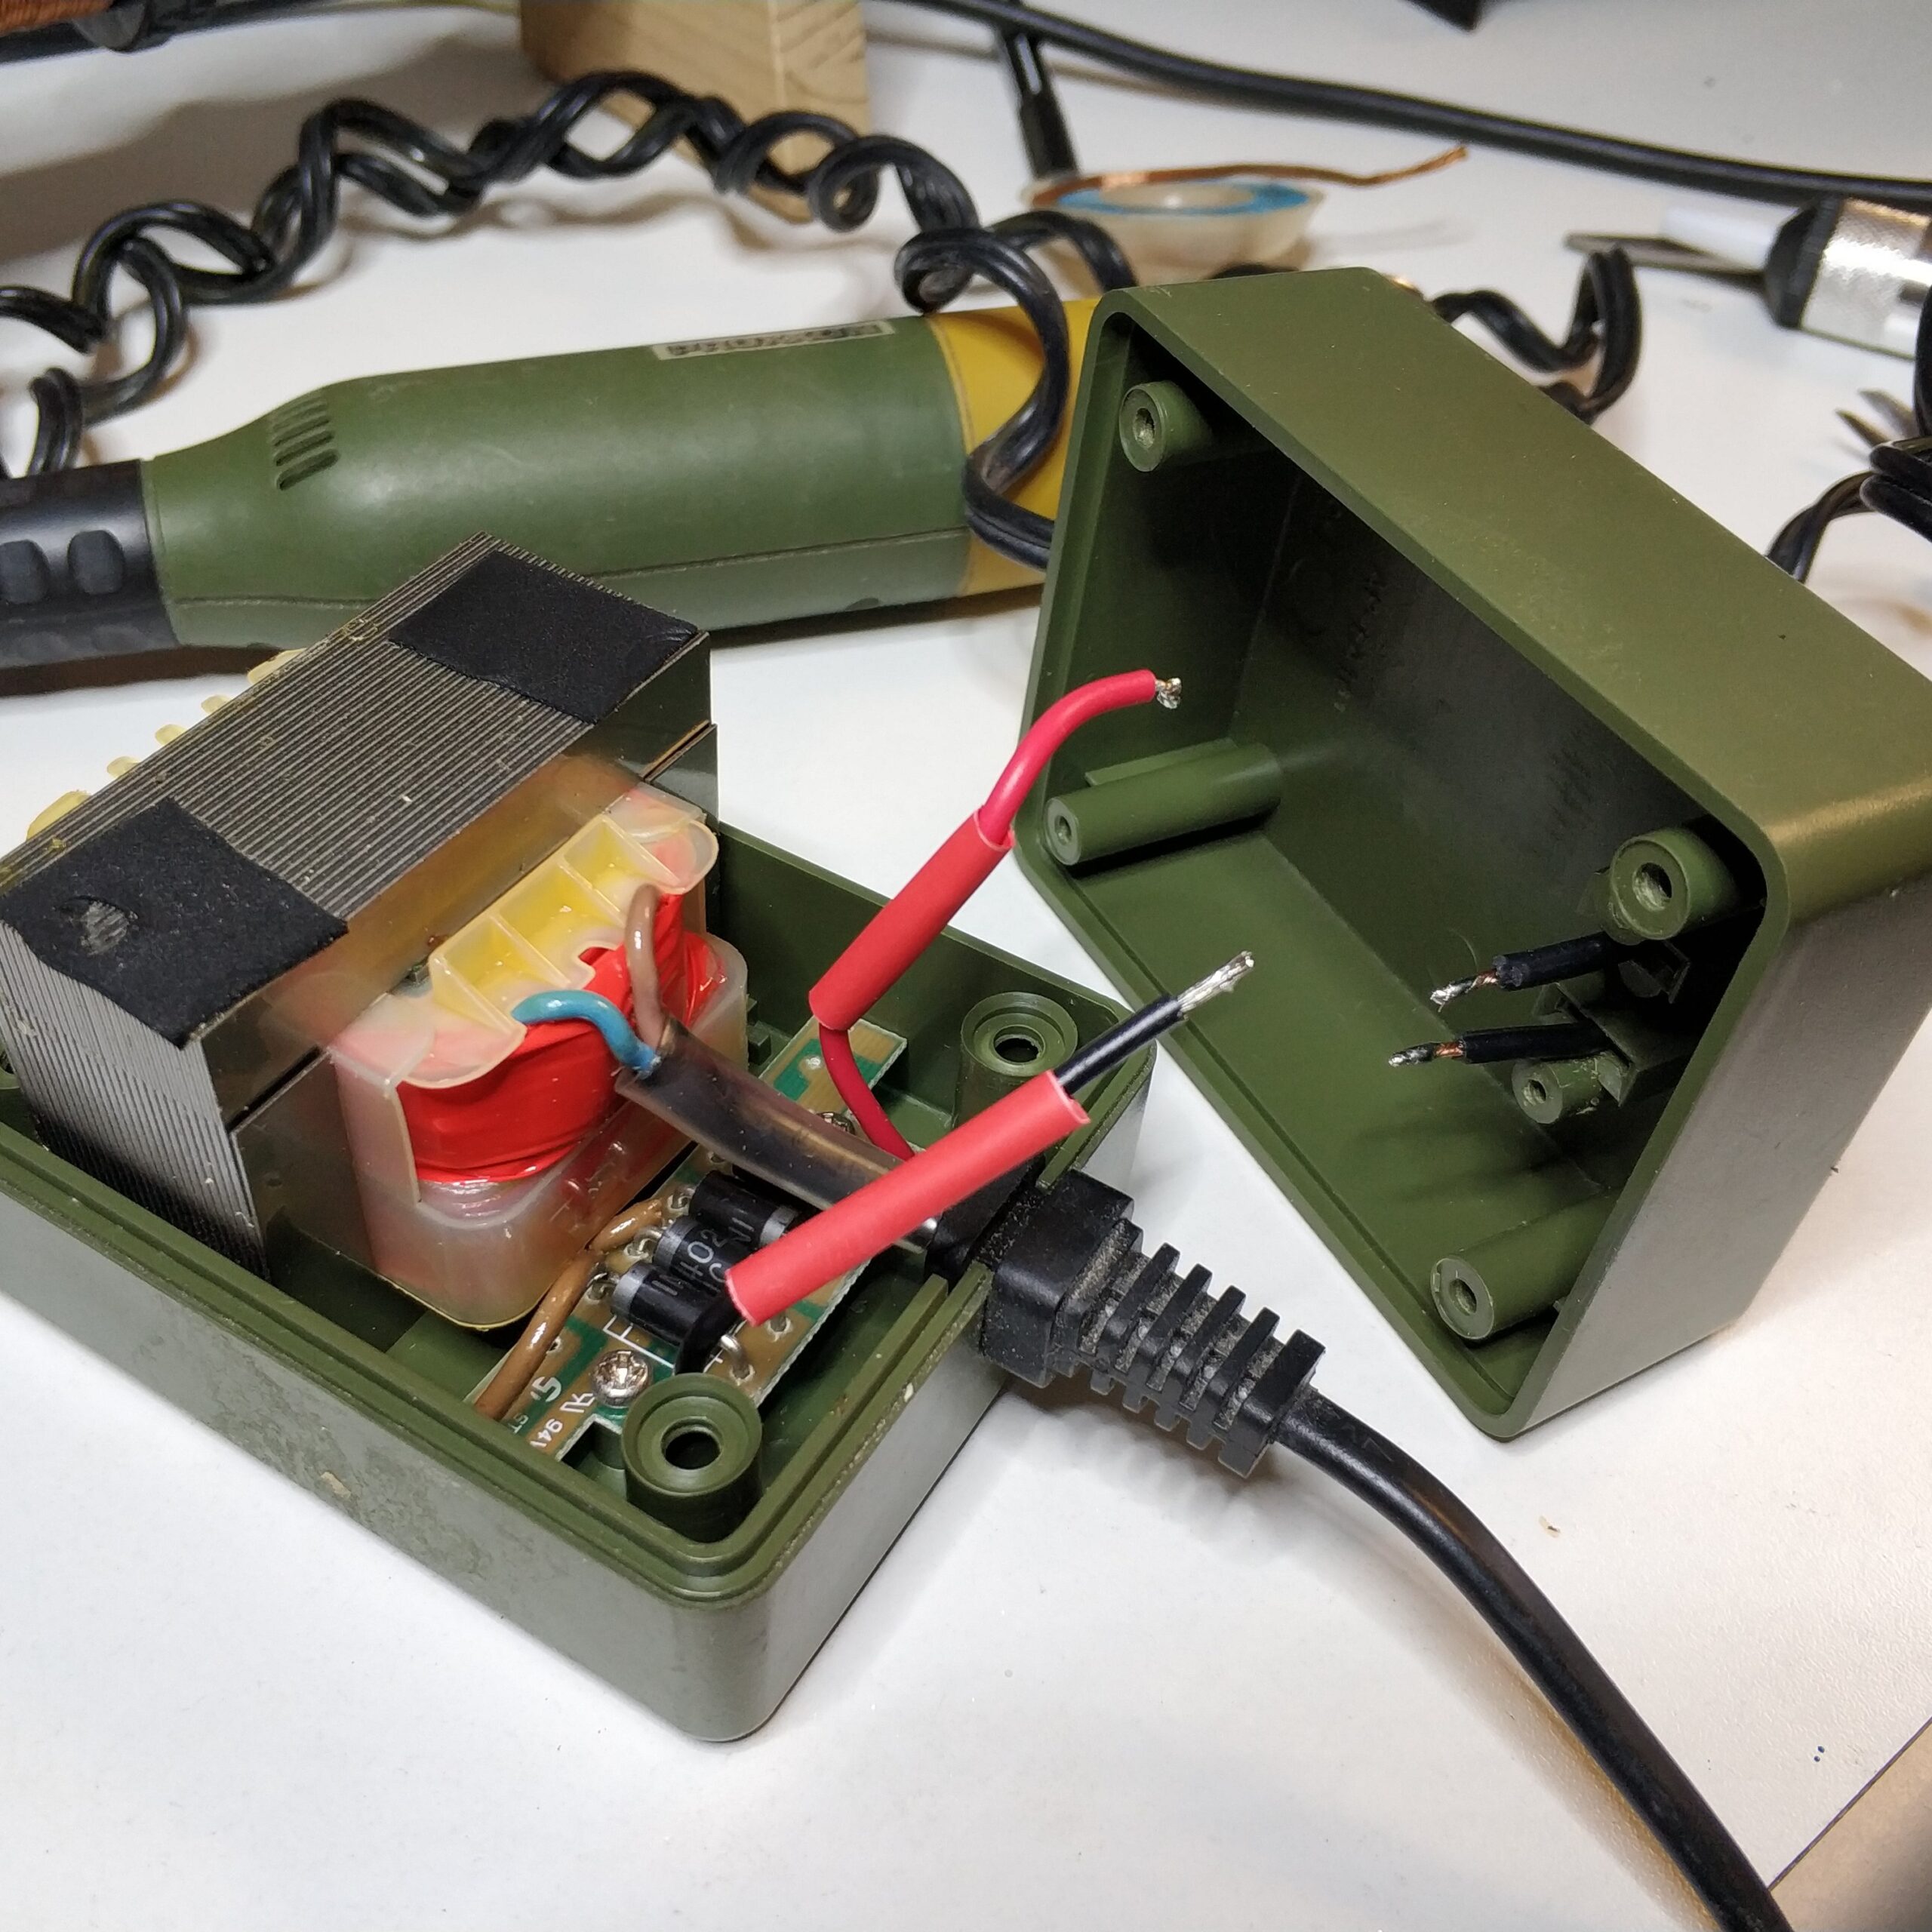
– Die Kabel zum Multitool abisoliert und verzinnt.

– Die Kabel in die Löcher vom Gehäuse gesteckt und zwei Stücke schrumpfschlauch darüber gesteckt.

– Die Kabel mit einander verlötet. Auf die richtige Polung achten, sonst dreht sich die Spindel falsch herrum.

– Mit den Schrumpfschläuchen die Lötstellen isoliert.

– Alles wieder verschraubt. Aber ohne die dreieckige Schraube.
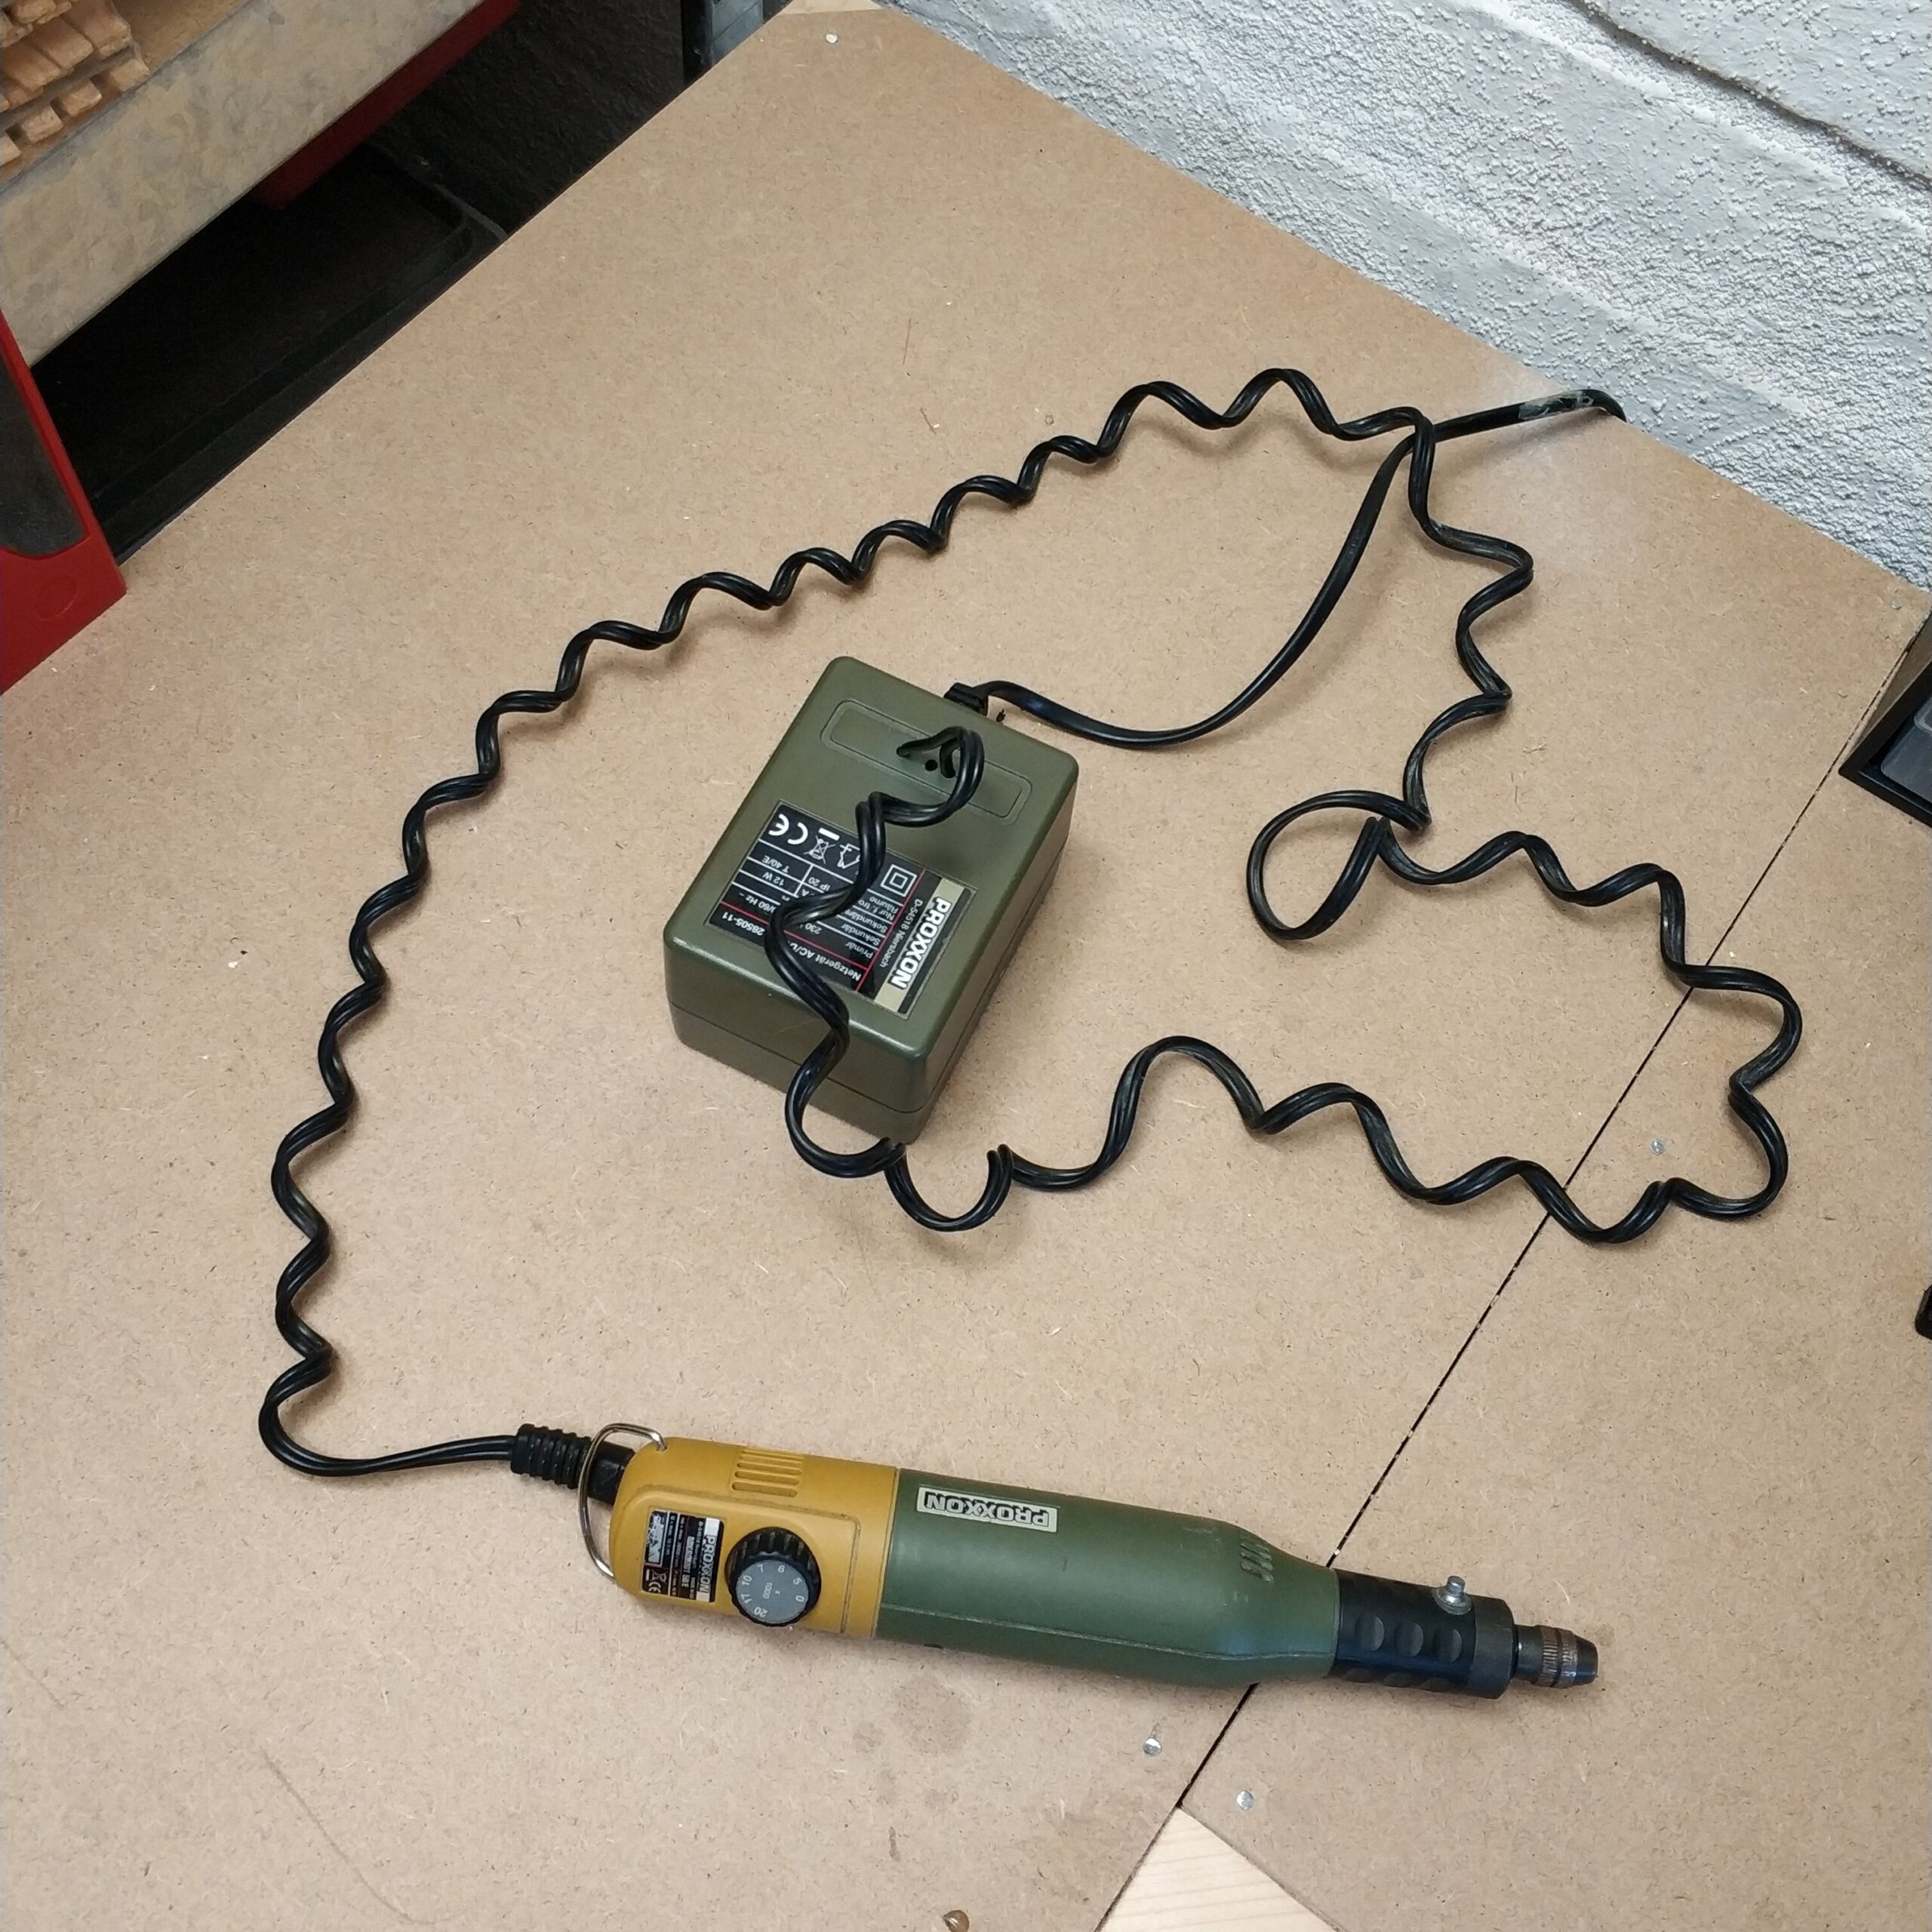
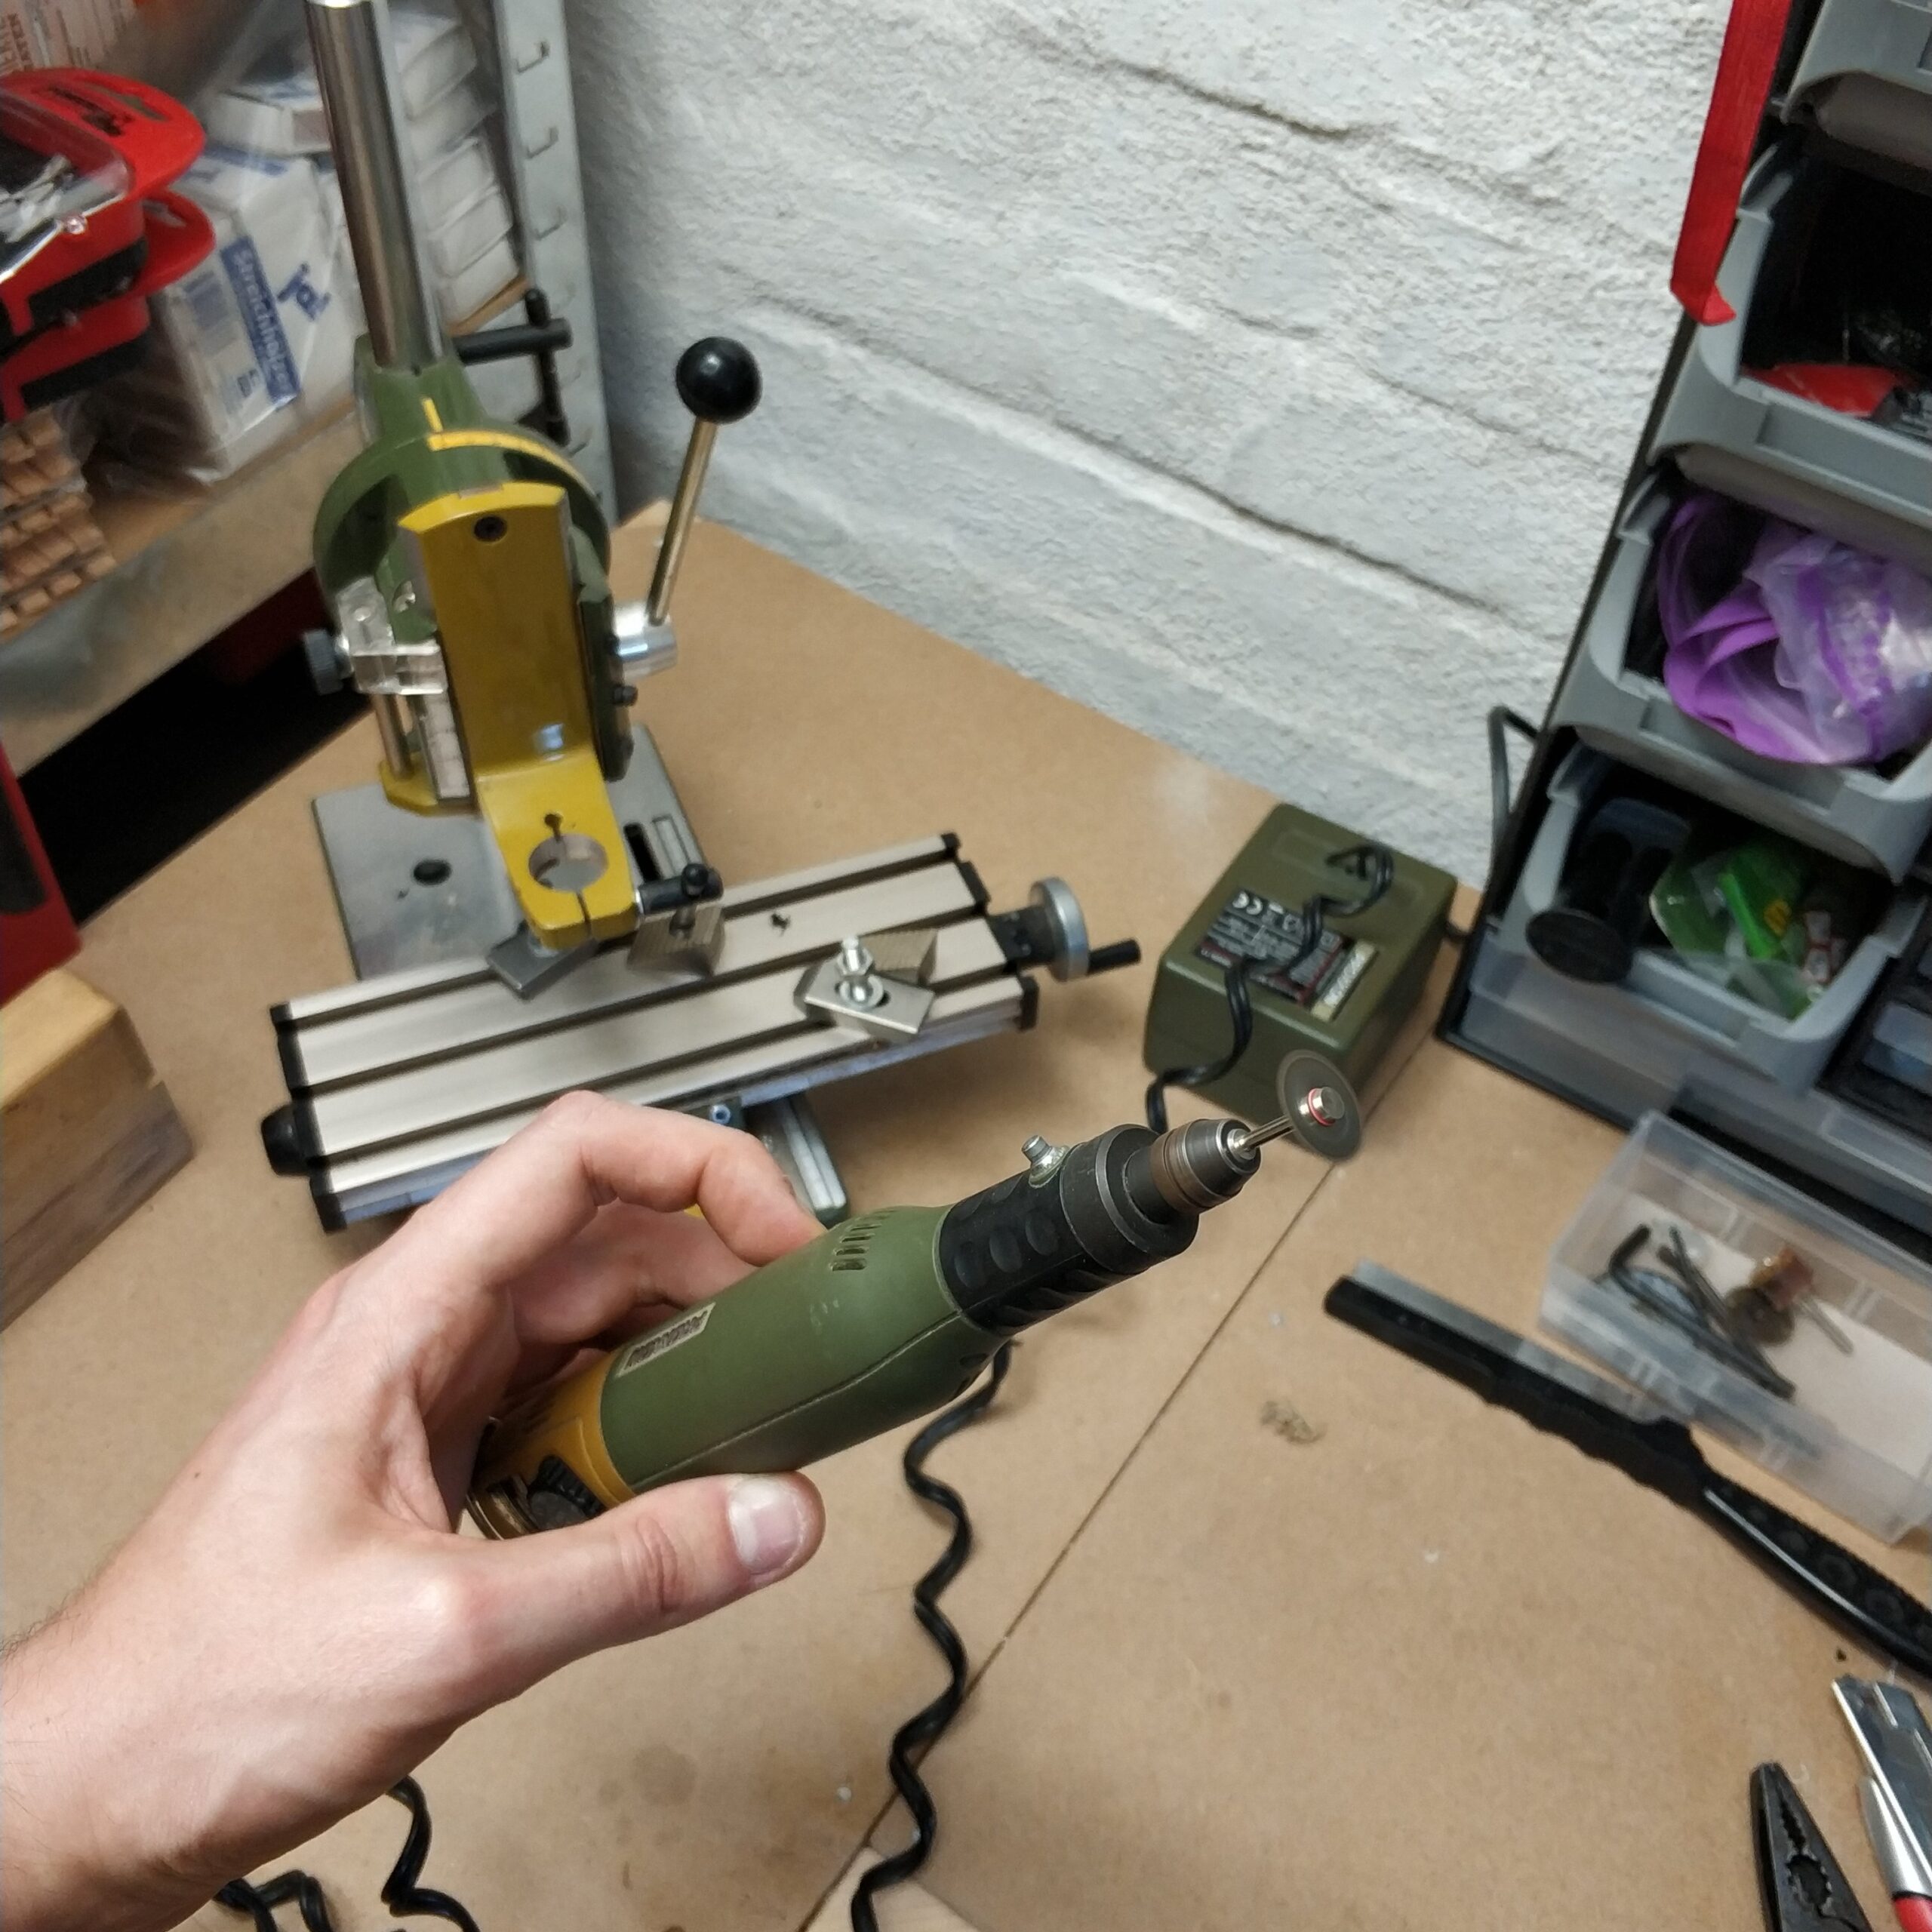
Fertig!


Eine weiteres funktionsfähiges Gerät in der Werkzeugsammlung.

I was given a broken Proxxon multitool that is just waiting to be repaired with little effort.

Someone broke the plug to the multitool on the power supply unit. So not a big problem. I proceeded as follows for the repair.

– Cut off the plug.

– The housing screw off. (Plug out! – high voltage) One of the screws was triangular. Fortunately, I had a suitable bit on hand.

– Loosened the two screws on the contacts

– Unsolder the cables from the contact pads.

– I drilled out a bit the holes where the plugs were previously in.

– The cables to the multitool are stripped and tinned.

– Put the cables into the holes in the housing and put two pieces of shrink tubing over them.

– The cables are soldered together. Pay attention to the correct polarity, otherwise the spindle will turn the wrong way round.

– Insulate the soldering points with the shrink tubing.

– Everything screwed back on. But without the triangular screw.

Finished!

Another working device in the toolbox.

Shopping Basket