Design
Prepare
Build
Test
Done!
Vor einiger Zeit konnte ich mir über die Kleinanzeigen einen gebrauchtet Flugzeugtrolley für vergleichsweise wenig Geld kaufen. Der Trolley ist seitdem eine tolle Bar und sollte schon seit einer Zeit beleuchtet werden. Nun hat schon seit längerem die dunkle Jahreszeit begonnen und jetzt bekam der Wunsch der Beleuchtung eine Notwendigkeit.
Auf dem Flohmarkt konnte ich eine 50m lange LED Rolle für 10€ ergattern und nutze diese jetzt um die Bar mit Licht auszustatten.
Some time ago I was able to buy a used airplane trolley for comparatively little money through the classifieds. The trolley has been a great bar ever since and should have been lit for a while. The dark season has long since begun and now the need for lighting has become a necessity.
At the flea market I was able to get hold of a 50m long LED roll for 10 € and now use it to equip the bar with light.
Als Material habe ich weißes Kabel, einen Endschalter, ein Netzteil mit Kabelklemmen, einen Mobilen Lötkolben, eine Heißklebepistole, transparentes Klebeband und einen Akkuschrauber mit Metallbohrköpfen verwendet.
The material I used was white cable, a limit switch, a power supply unit with cable clamps, a mobile soldering iron, a hot glue gun, transparent adhesive tape and a cordless screwdriver with metal drill heads.
Zuerst habe ich die selbstklebenden LEDs zurecht geschnitten und dann aufgeklebt. An sensiblen Stellen habe ich transparentes Klebeband unter und über das LED Band geklebt, da der ganze Trolley aus leitendem Aluminium ist und es sonst zu Kurzschlüssen kommen könnte.
Nach dem Aufkleben habe ich oben in die Rückseite des Trolley zwei Löcher für die Kabeldurchlässe für die Abstellfläche gebohrt. Die Löcher hatten eine Durchmesser von 4mm. Für die Netzteilkabelklemme habe ich unten ein 10mm Loch gebohrt. Nun habe ich alle Kabel mit genügend Spiel abgelängt und die Enden Abisoliert verdreht und ordentlich Verzinnt. Ebenso habe ich die entsprechenden Kontakte auf den LED Streifen verzinnt damit das spätere Verlöten leichter geht.
Den Endschalter habe ich in Reihe mit den innen liegenden LED Streifen verlötet und in die untere rechte Ecke der Tür mit der Heizklebepistole geklebt. Der Endschalter öffnet den Schaltkreis bei geschlossener Tür. Beim öffnen der Tür wird der Kontakt geschlossen und die inneren LEDs leuchten.
Die LED Streifen auf der Abstellfläche sind parallel direkt mit der Netzeilkabelklemme verbunden und leuchten immer. Alle losen Kabel konnte ich mit dem transparenten Klebeband unsichtbar im inneren des Trolleys verlegen und fixieren.
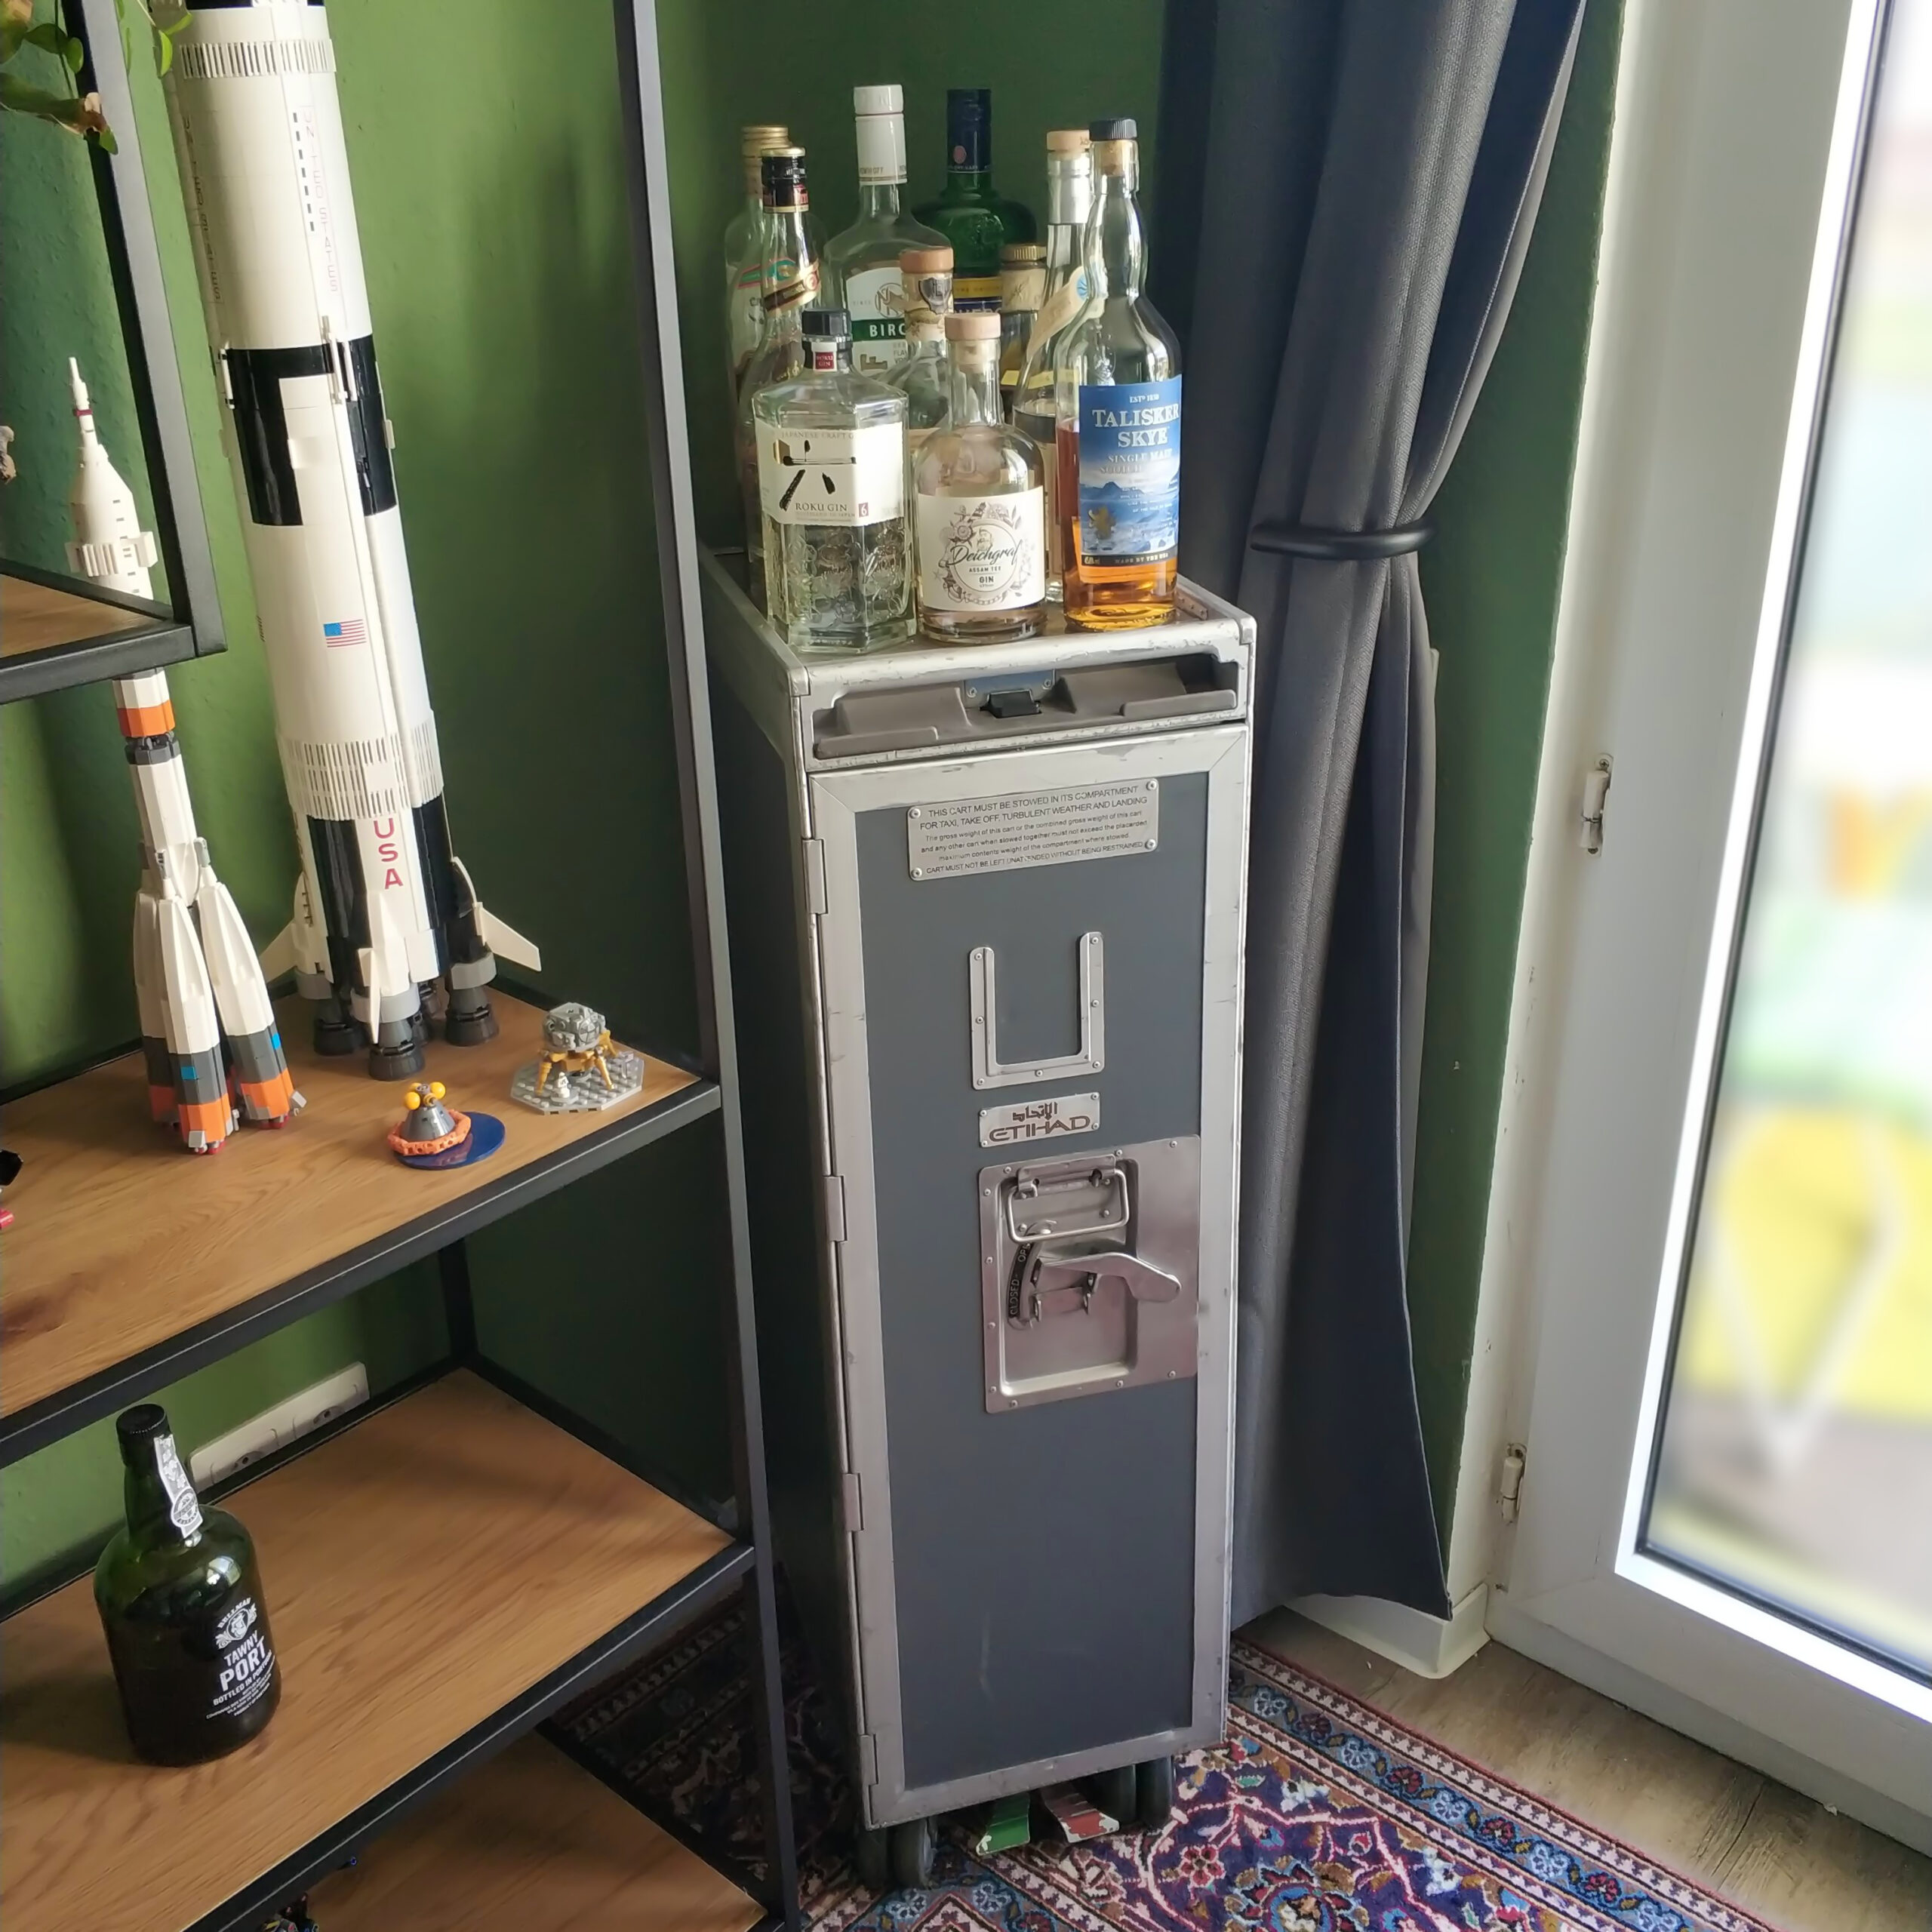
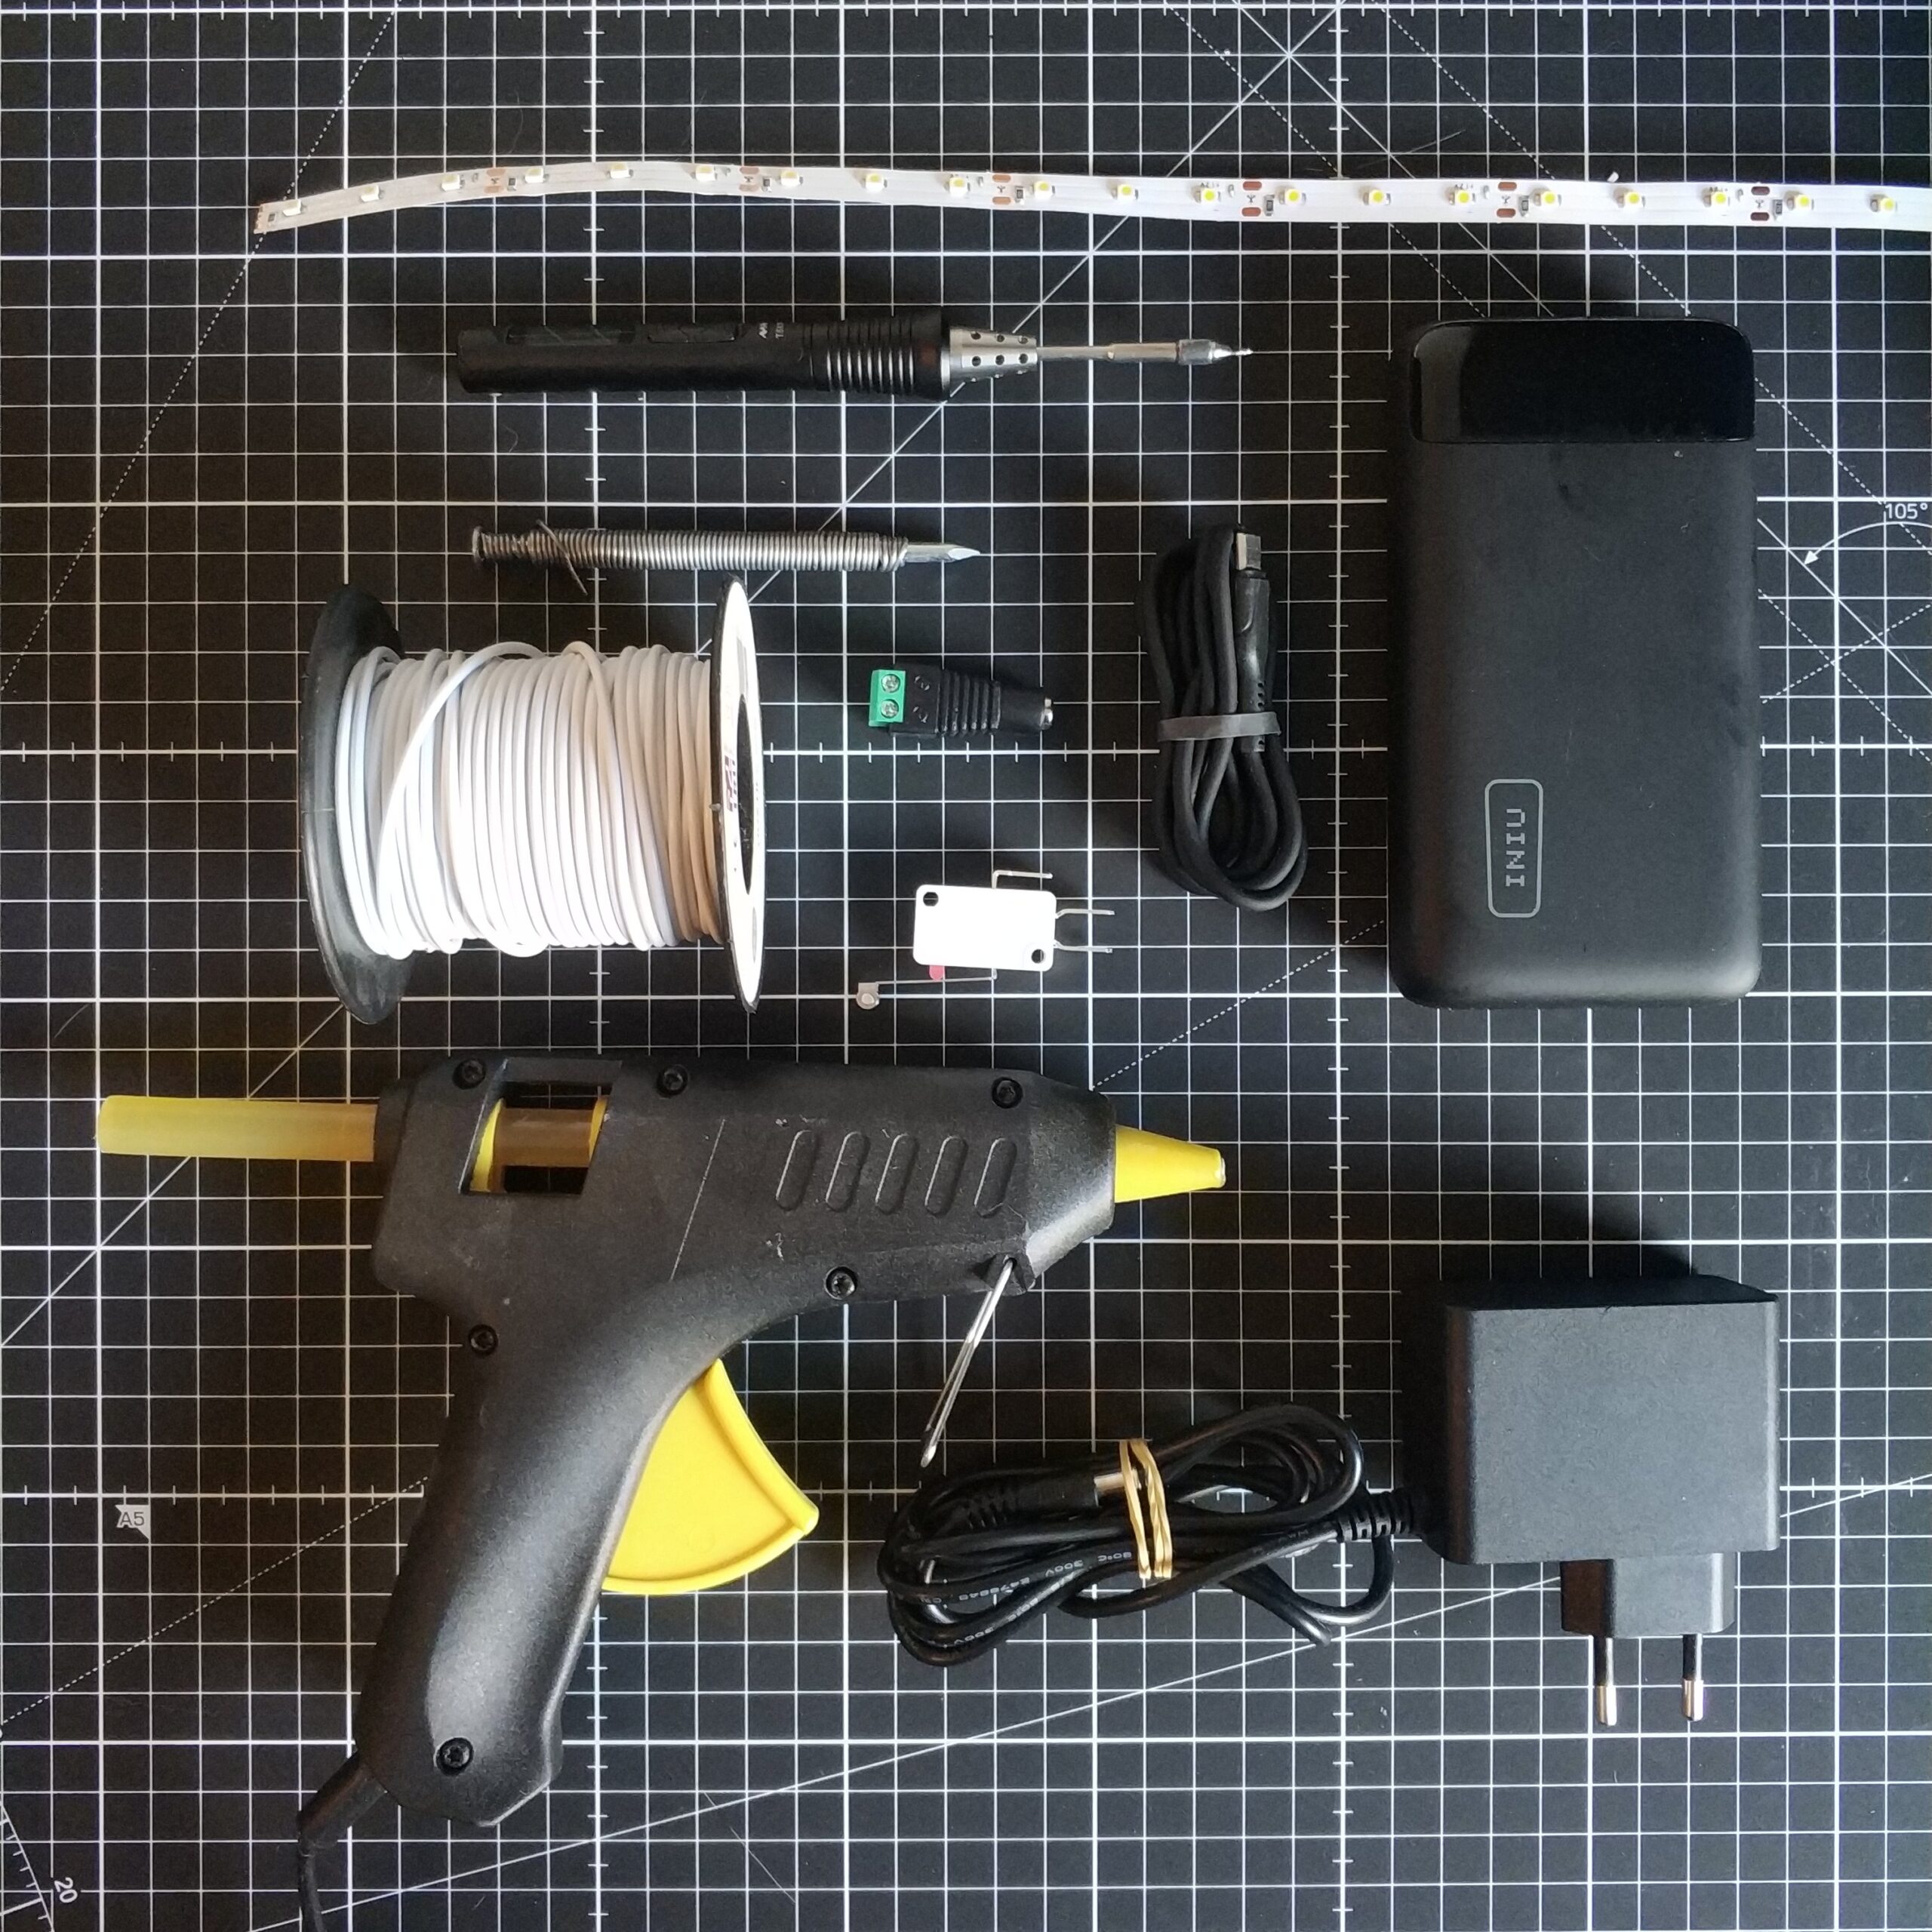
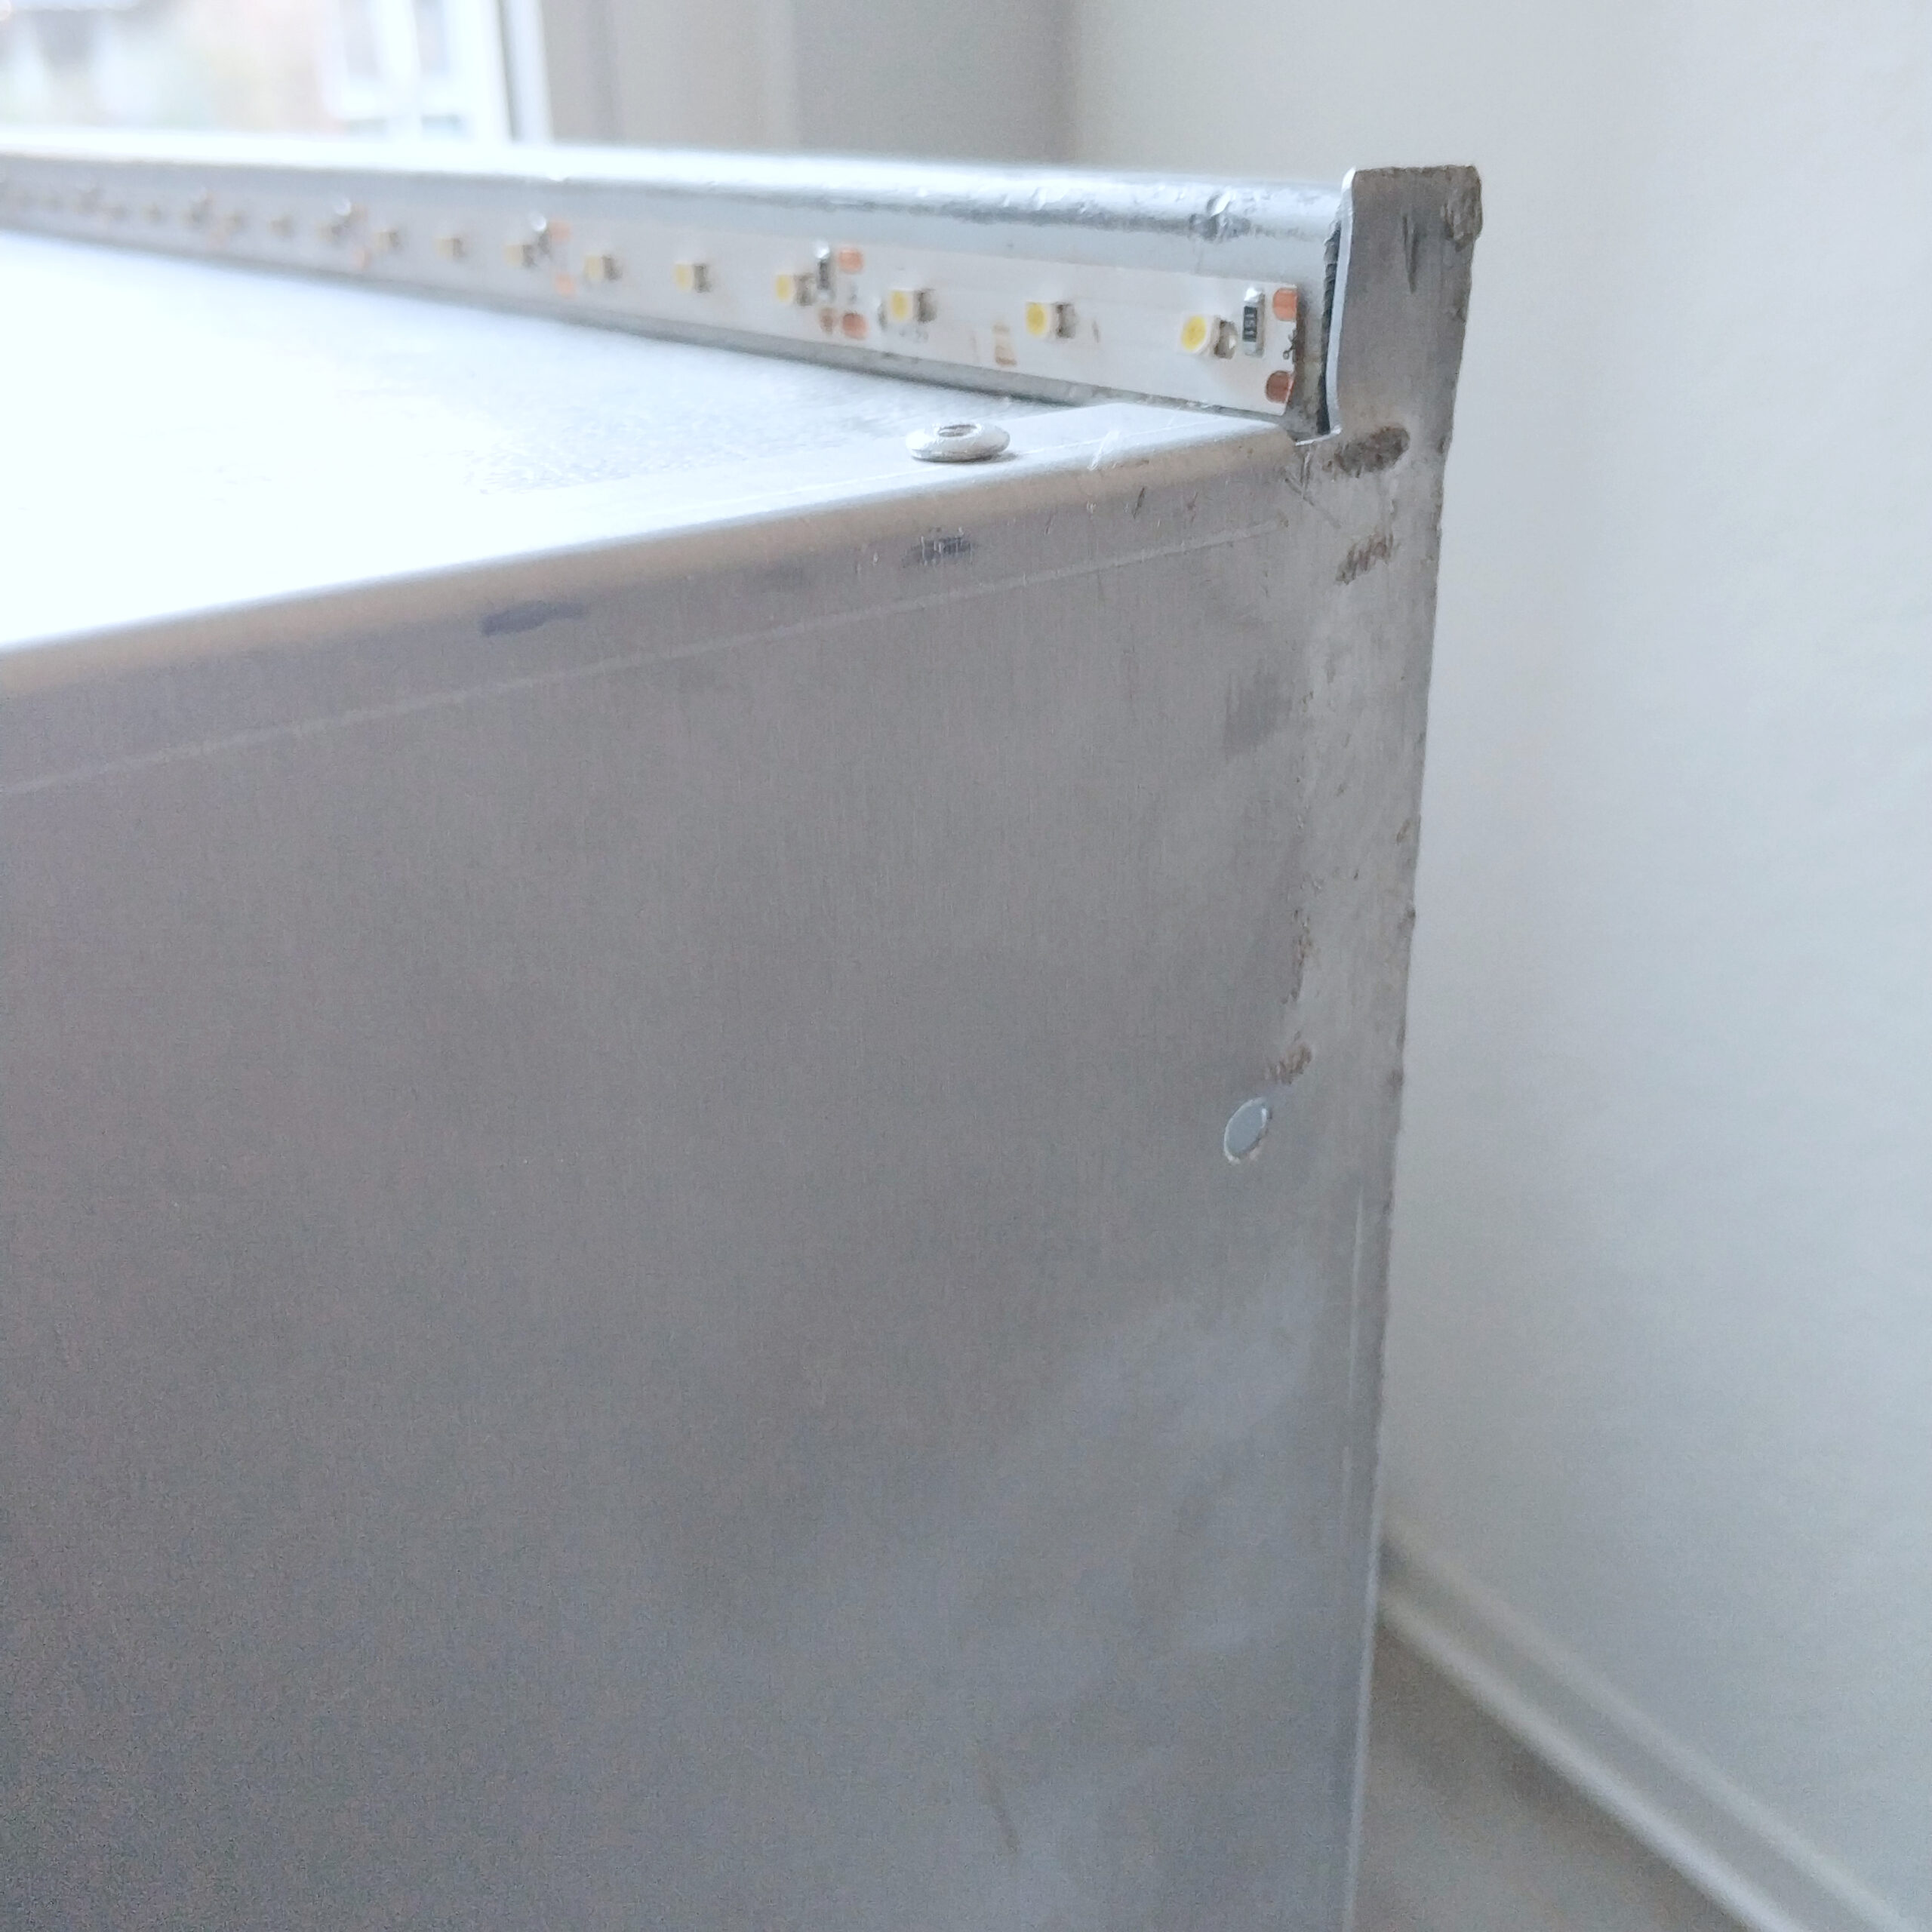
First I cut the self-adhesive LEDs and then glued them on. I stuck transparent adhesive tape under and over the LED tape in sensitive areas, as the whole trolley is made of conductive aluminum and otherwise short circuits could occur.
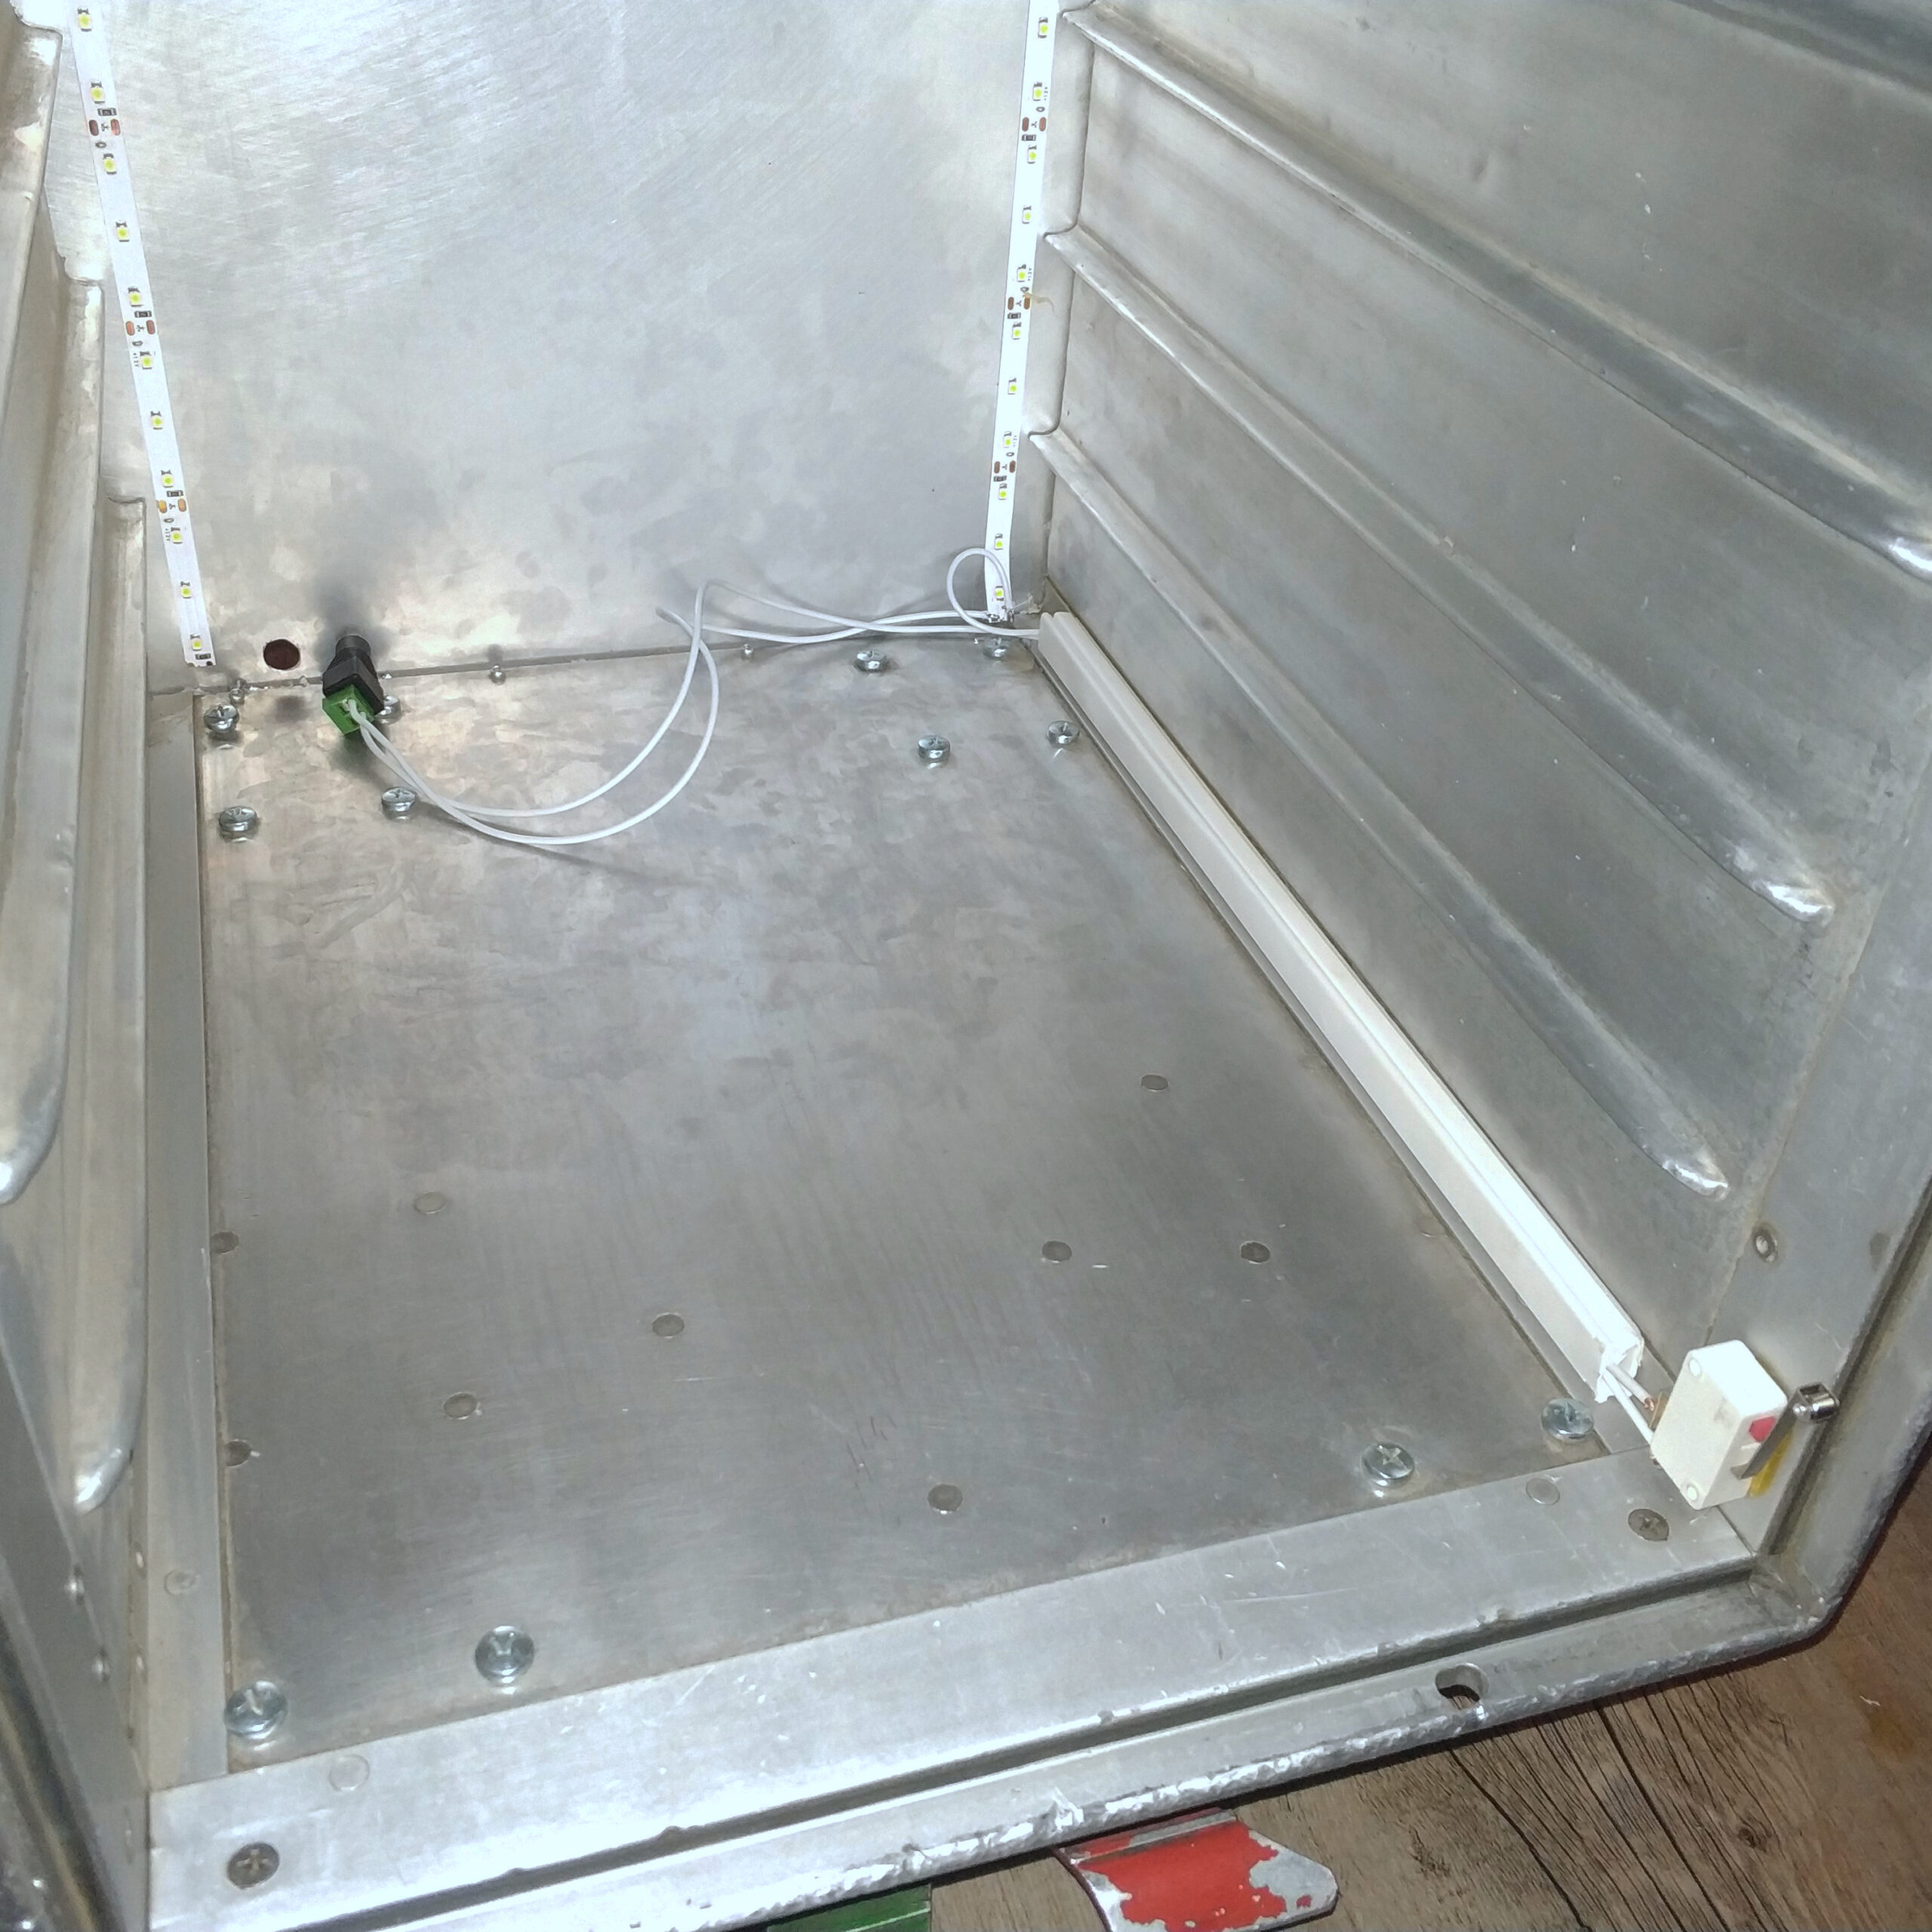
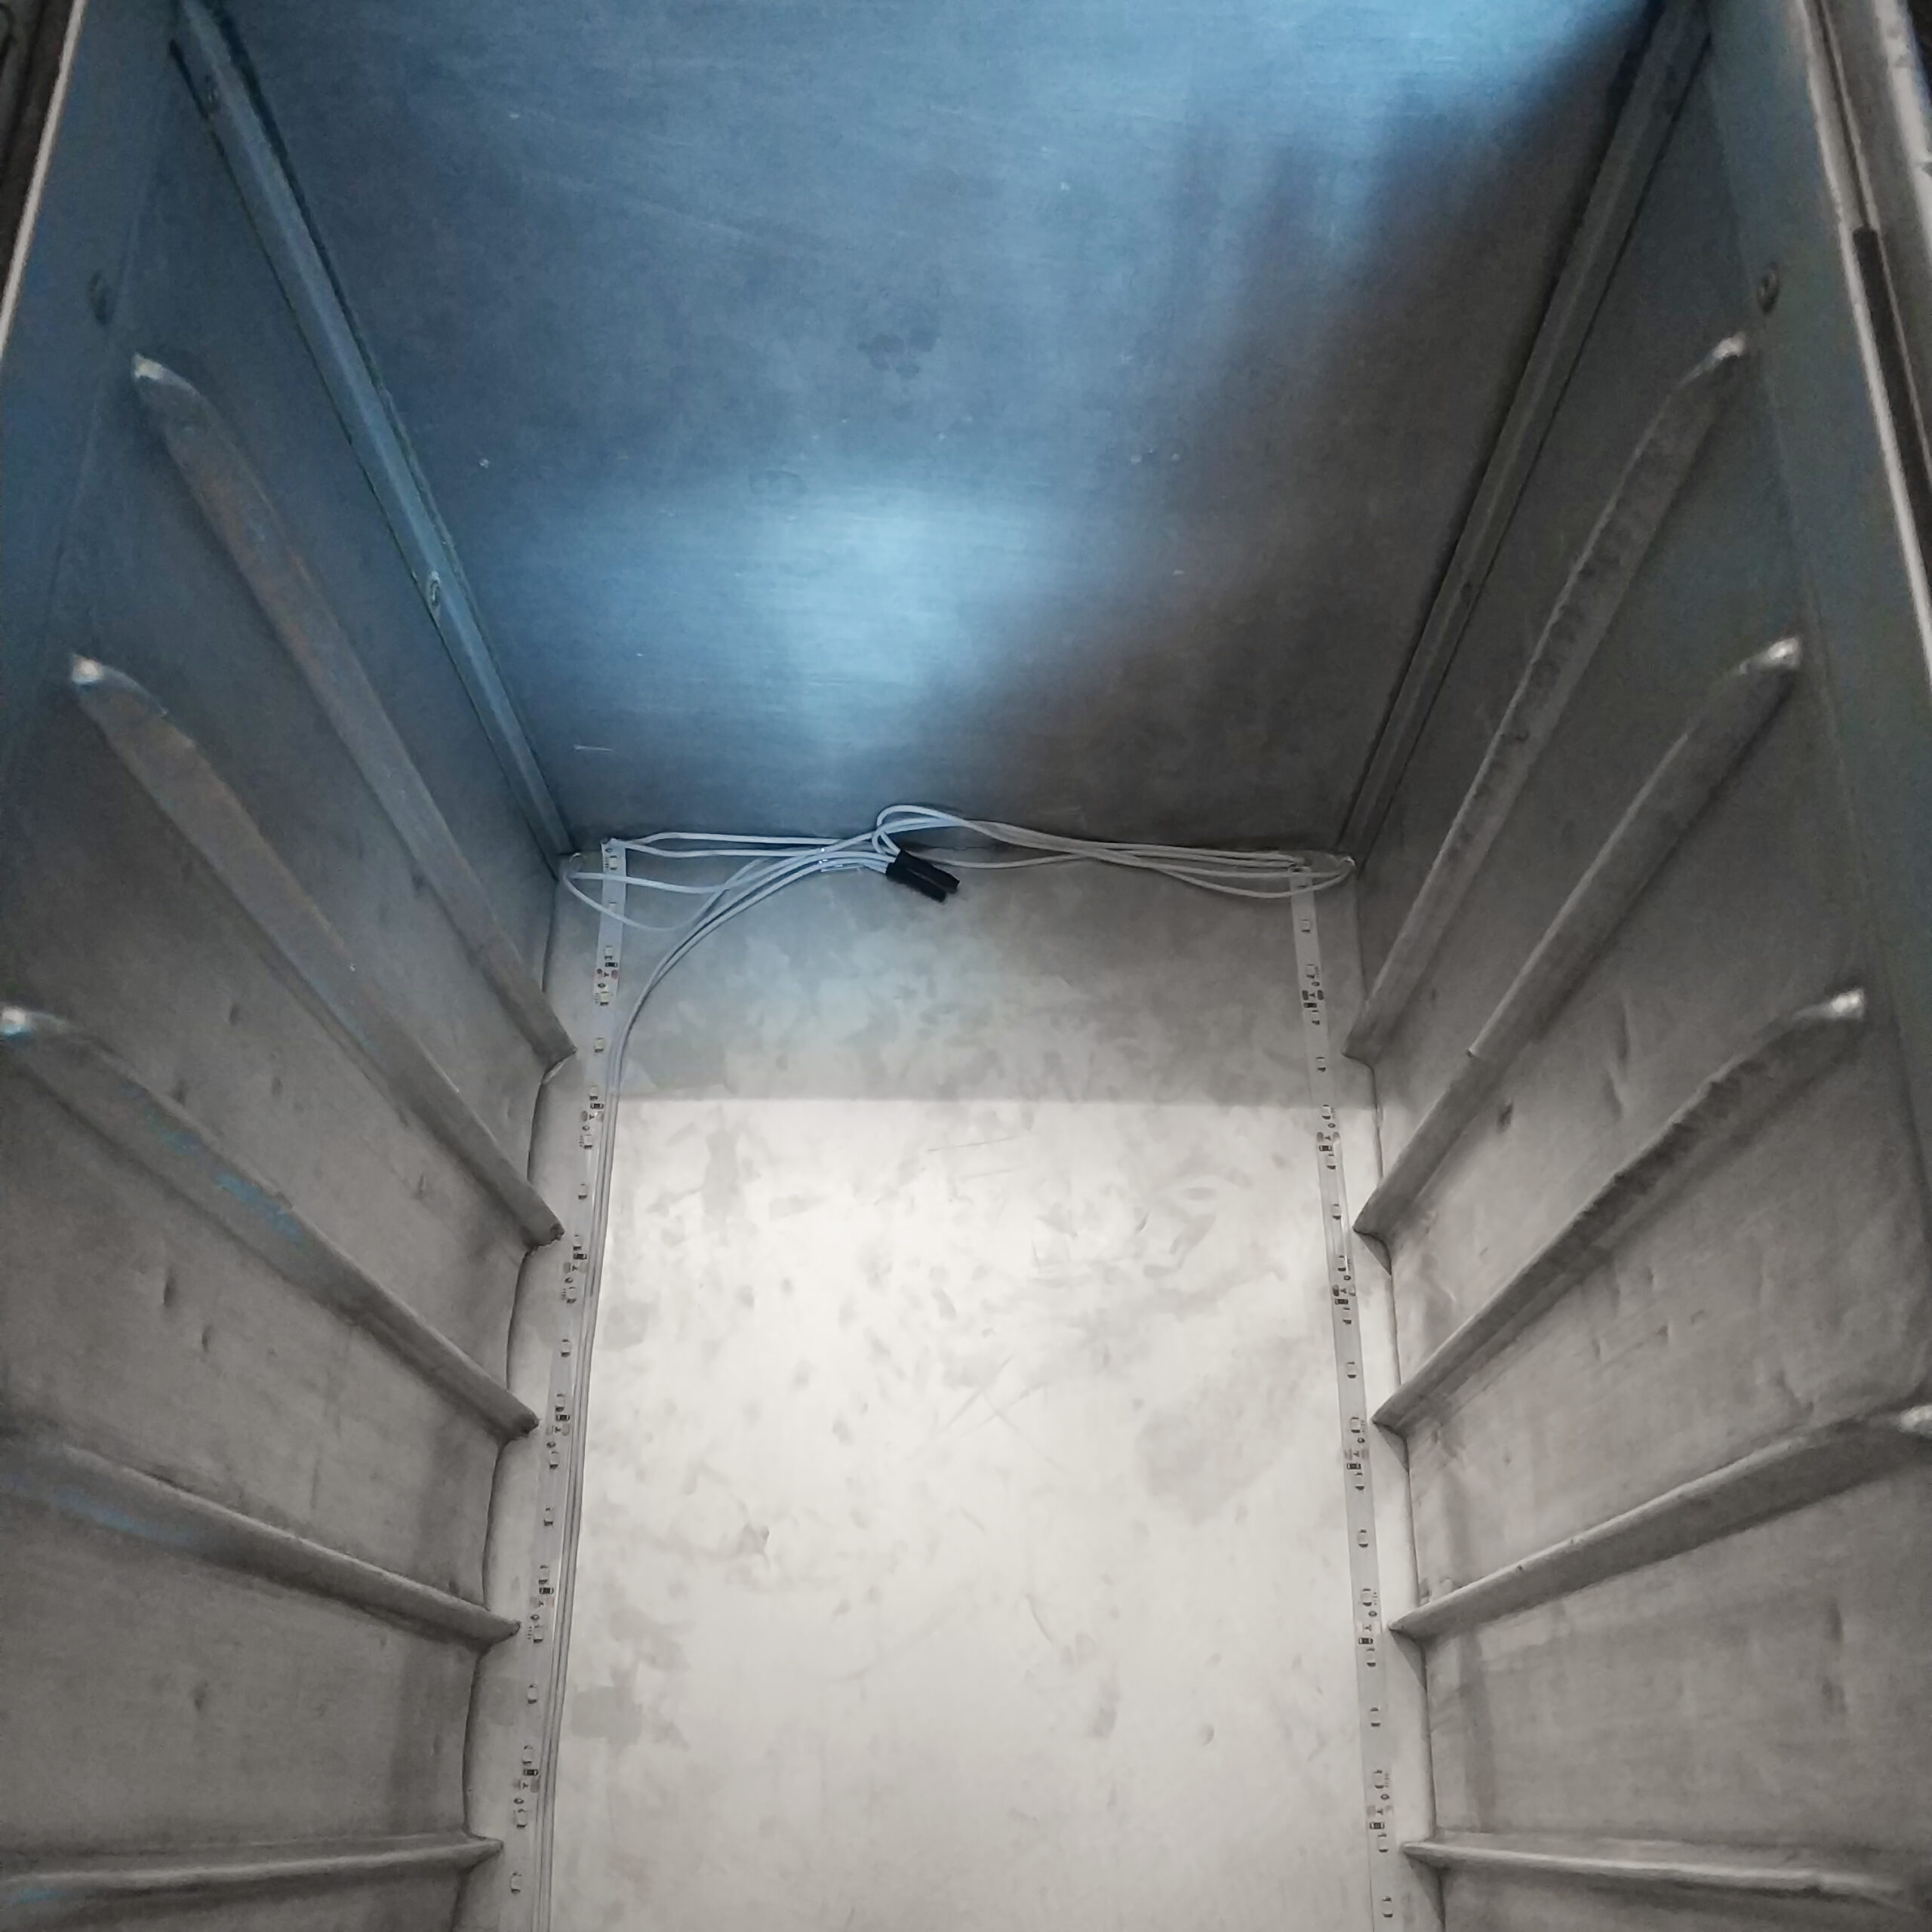
After gluing it on, I drilled two holes in the back of the trolley for the cable openings for the storage area. The holes were 4mm in diameter. I drilled a 10mm hole at the bottom for the power supply cable clamp. Now I have cut all the cables to length with enough play and twisted the stripped ends and tinned them properly. I also tinned the corresponding contacts on the LED strips so that later soldering is easier.
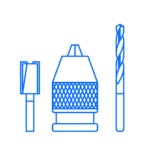
I soldered the limit switch in series with the LED strips on the inside and stuck it in the lower right corner of the door with the glue gun. The limit switch opens the circuit when the door is closed. When the door is opened, the contact is closed and the internal LEDs light up.
The LED strips on the shelf are directly connected to the power cable clamp and always light up. I was able to lay and fix all loose cables invisibly inside the trolley with the transparent adhesive tape.